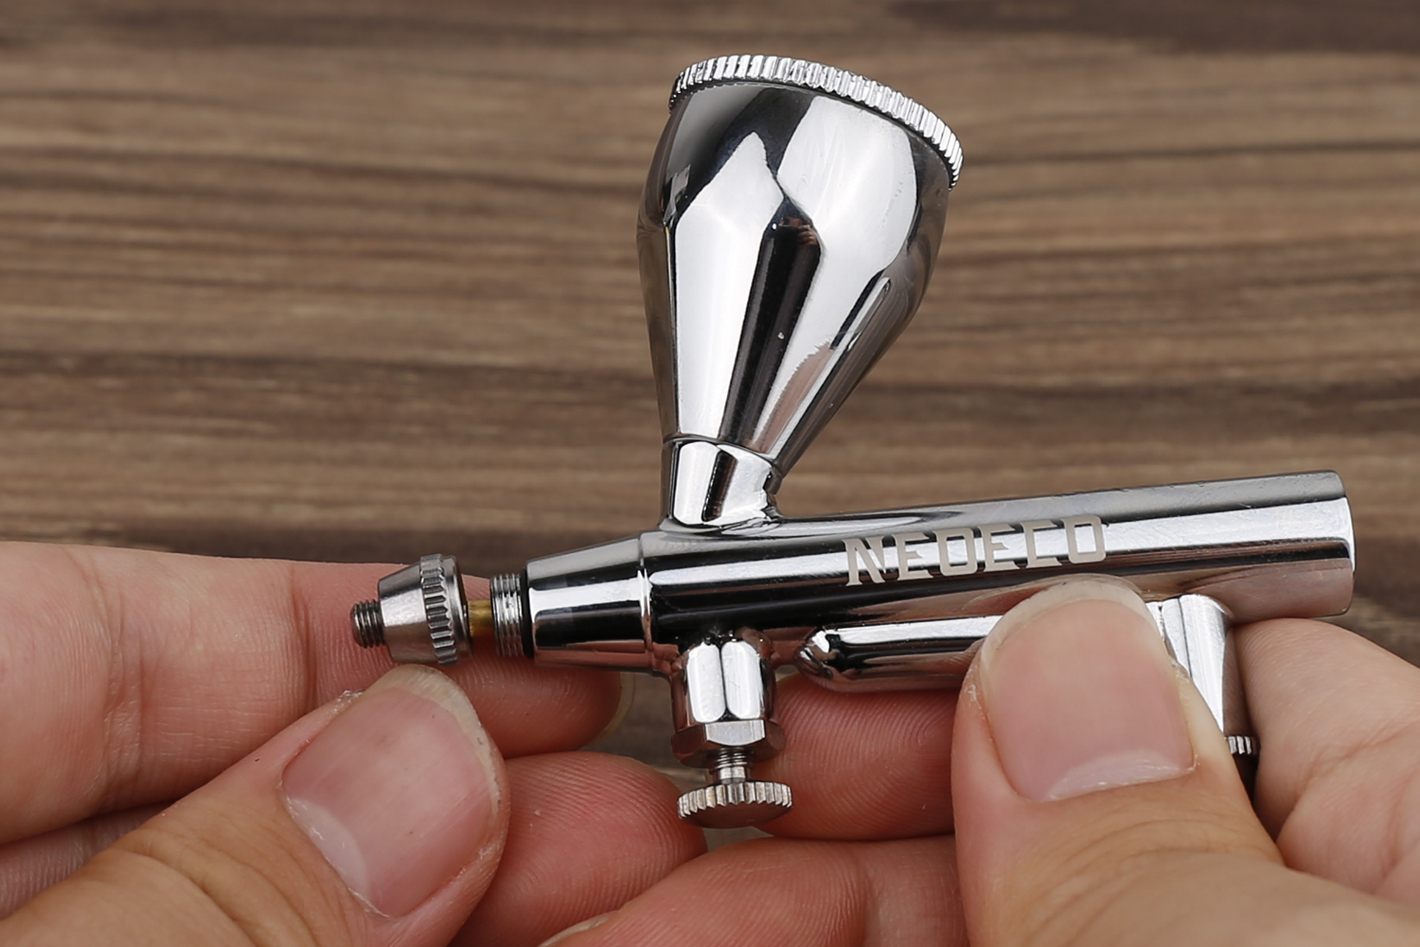
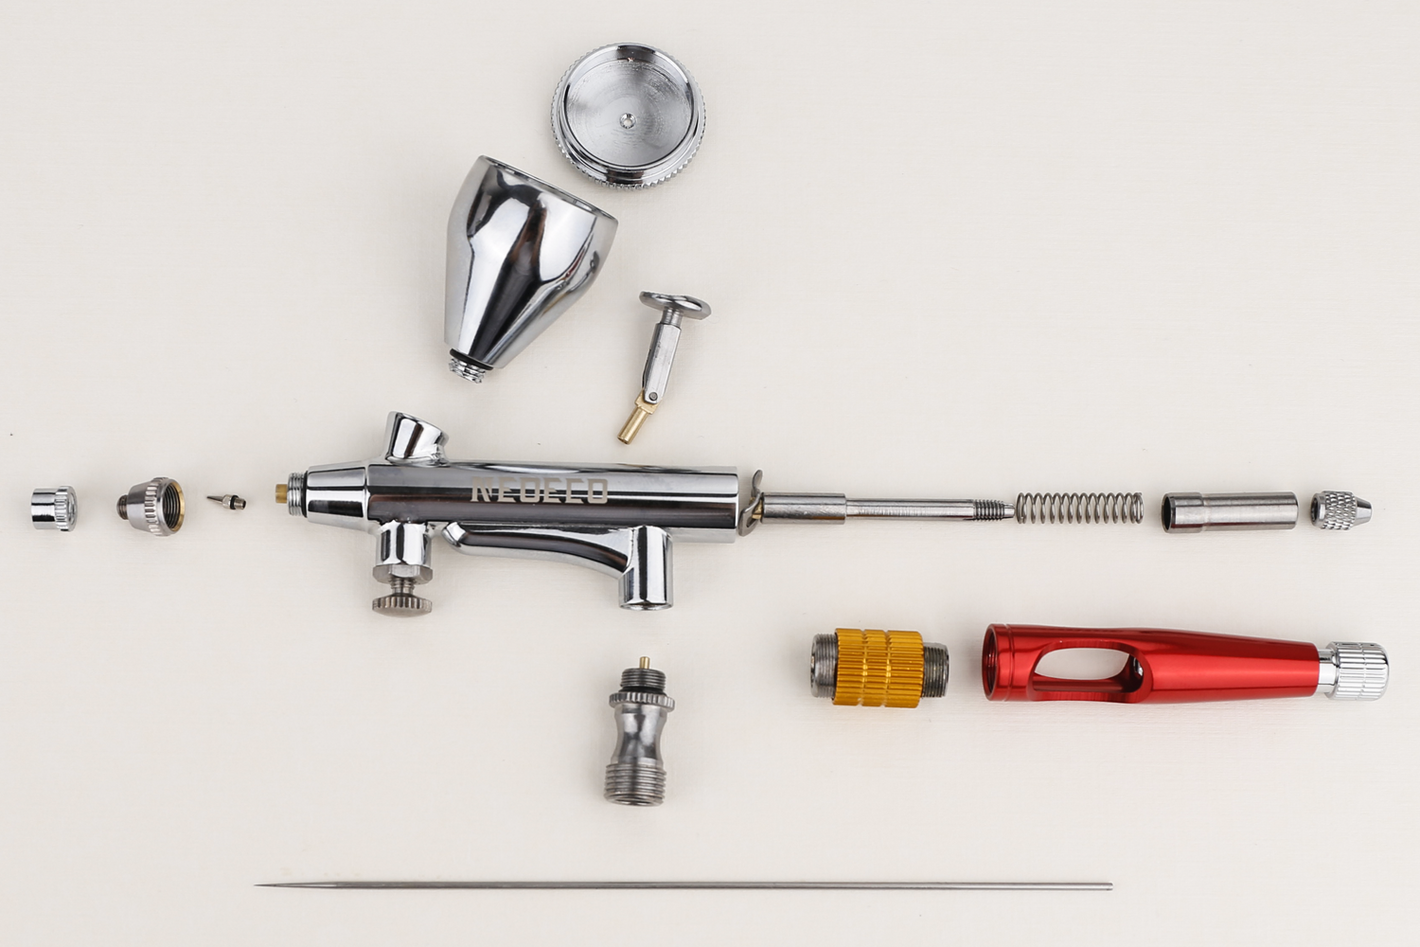
DISASSEMBLY
Disassembling your airbrush can be an essential aspect for airbrush users. It allows you to gain a better understanding of your airbrush and serves various purposes such as deep cleaning or replacing broken parts. However, we advise beginners against disassembling their airbrushes immediately upon receiving them. As a beginner, it can be challenging to familiarize yourself with the intricacies of the airbrush, and incorrect reassembly may lead to complications. It is advisable to disassemble the airbrush only when necessary, such as for maintenance or repairs.
If you encounter any issues or have further questions, please don't hesitate to contact us. You can reach us at bksydtt@outlook.com. We are here to assist you and provide any necessary support.
-
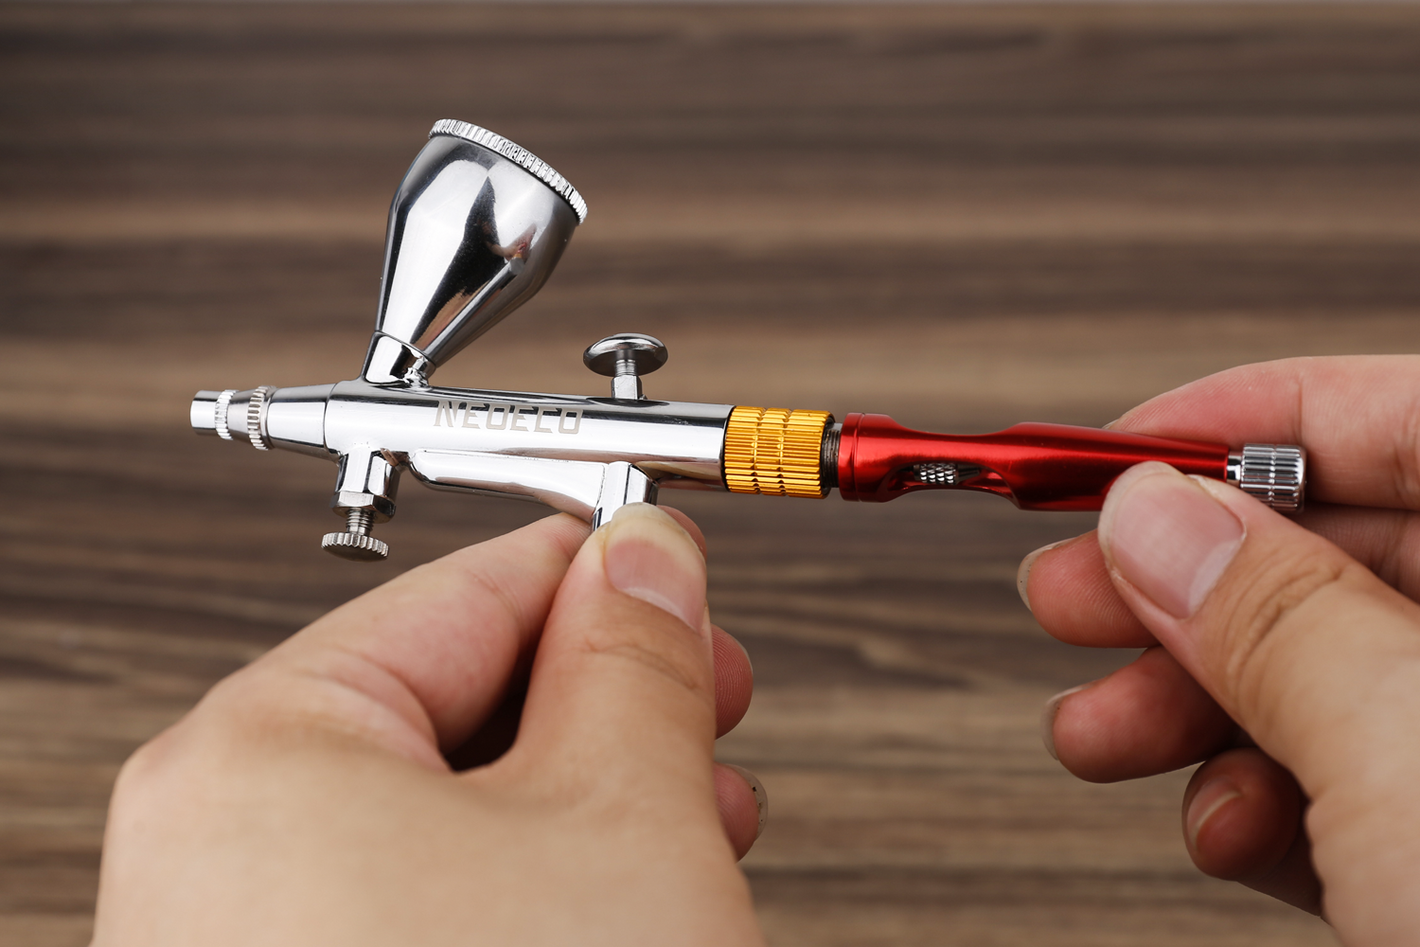
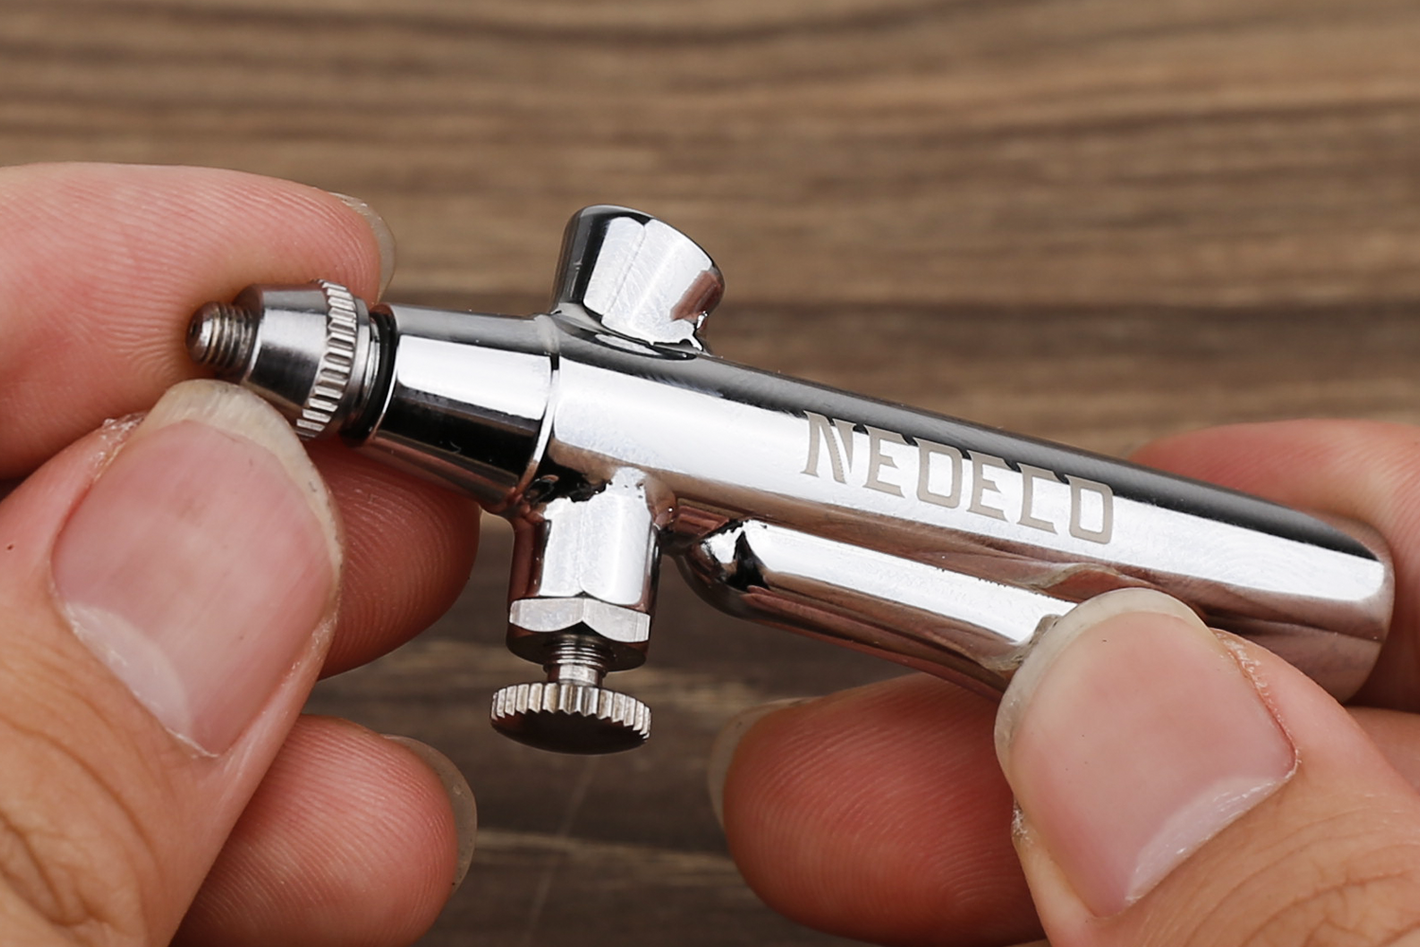
STEP 1
Gently rotate the airbrush handle in a counterclockwise direction until it becomes detached.
-

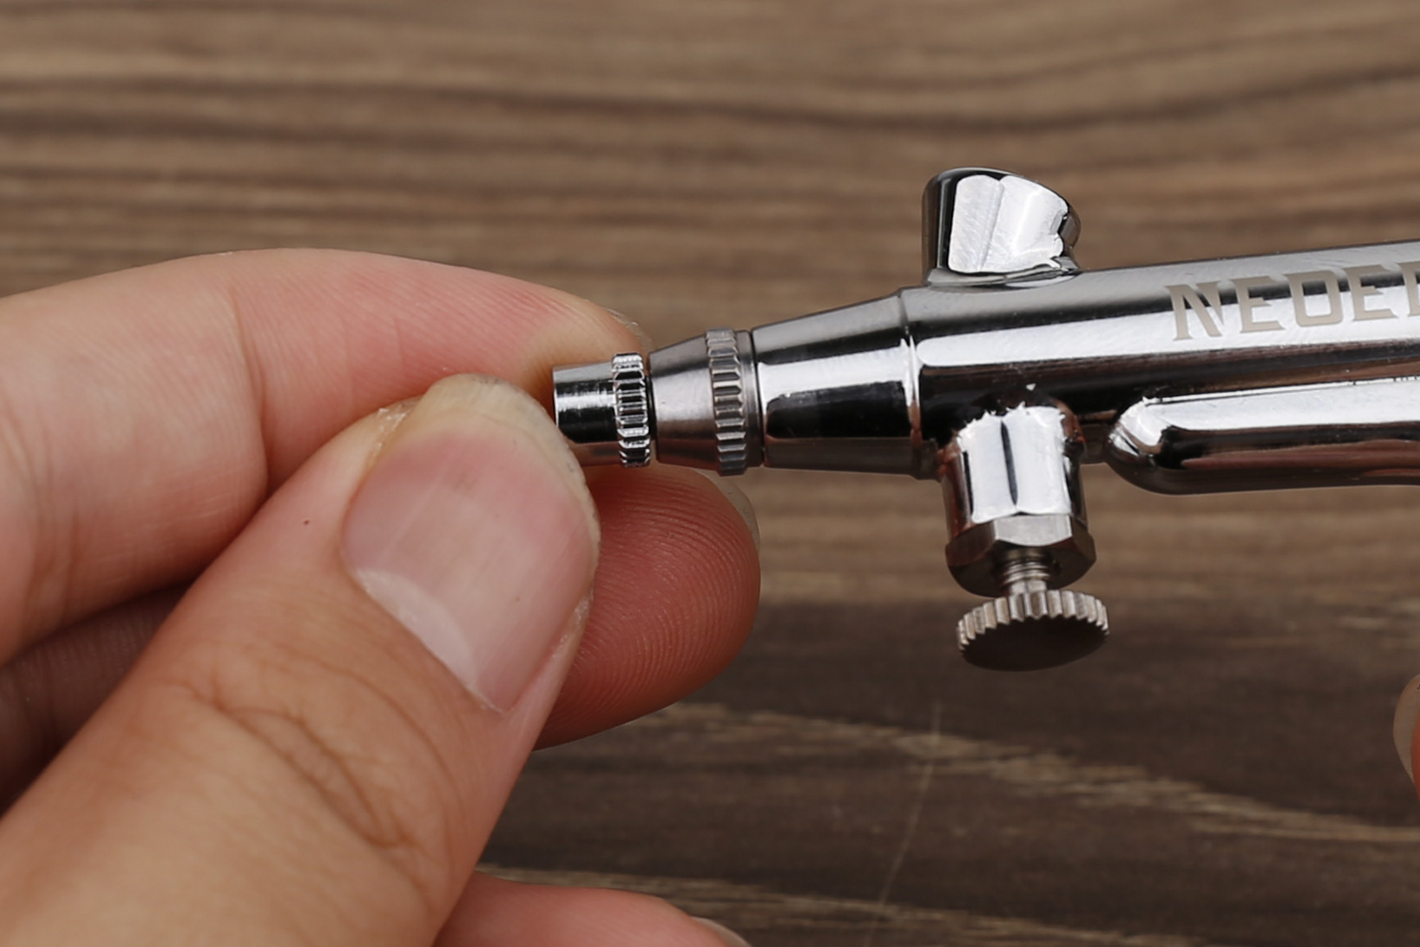
STEP 2
Carefully turn the airbrush needle nut in a counterclockwise direction until it loosens and can be taken out.
-
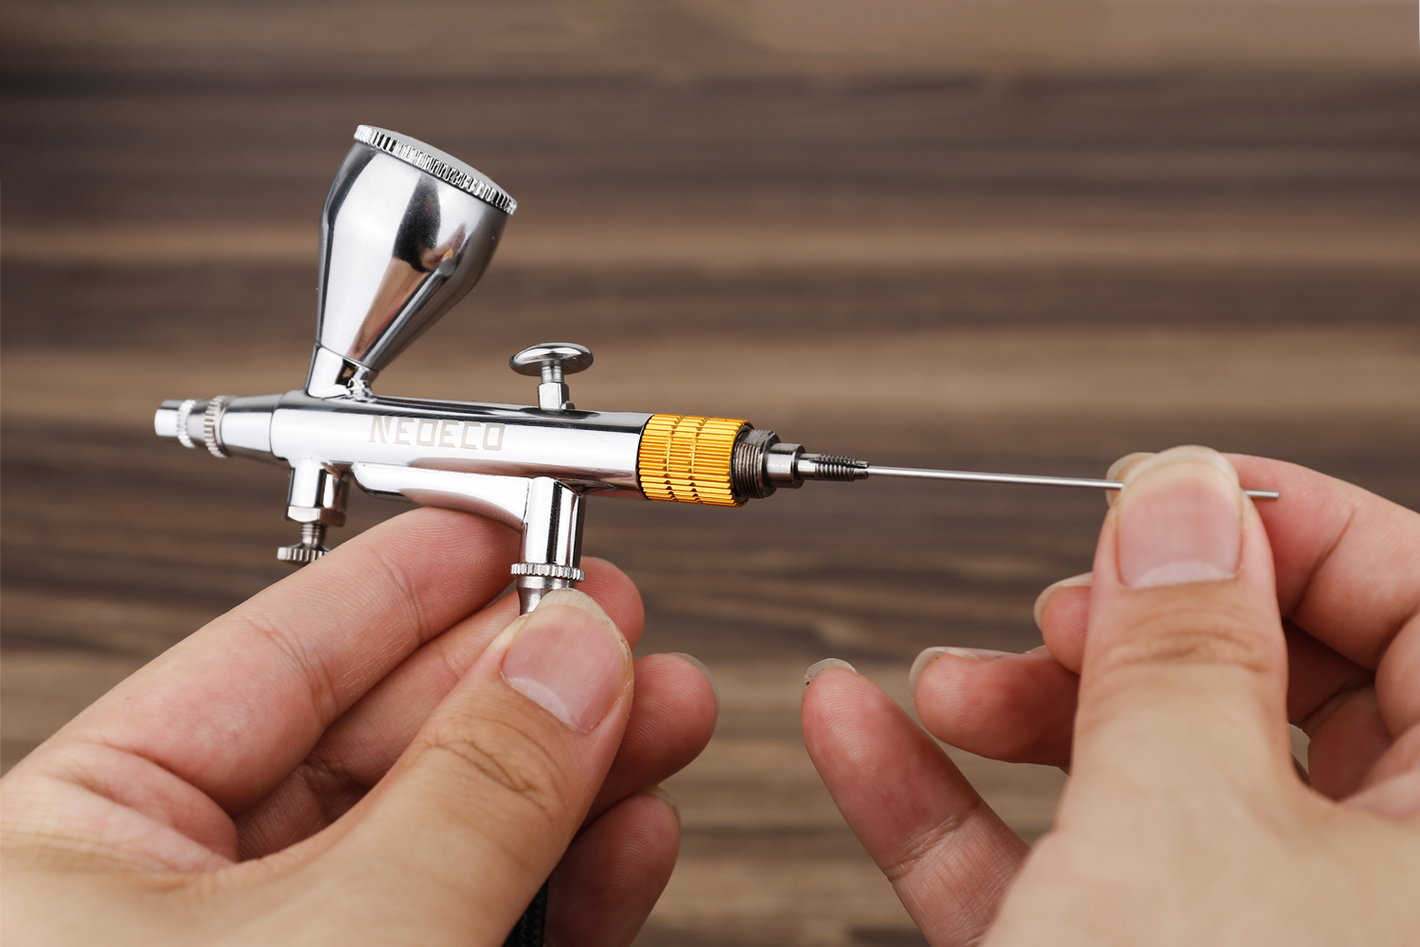
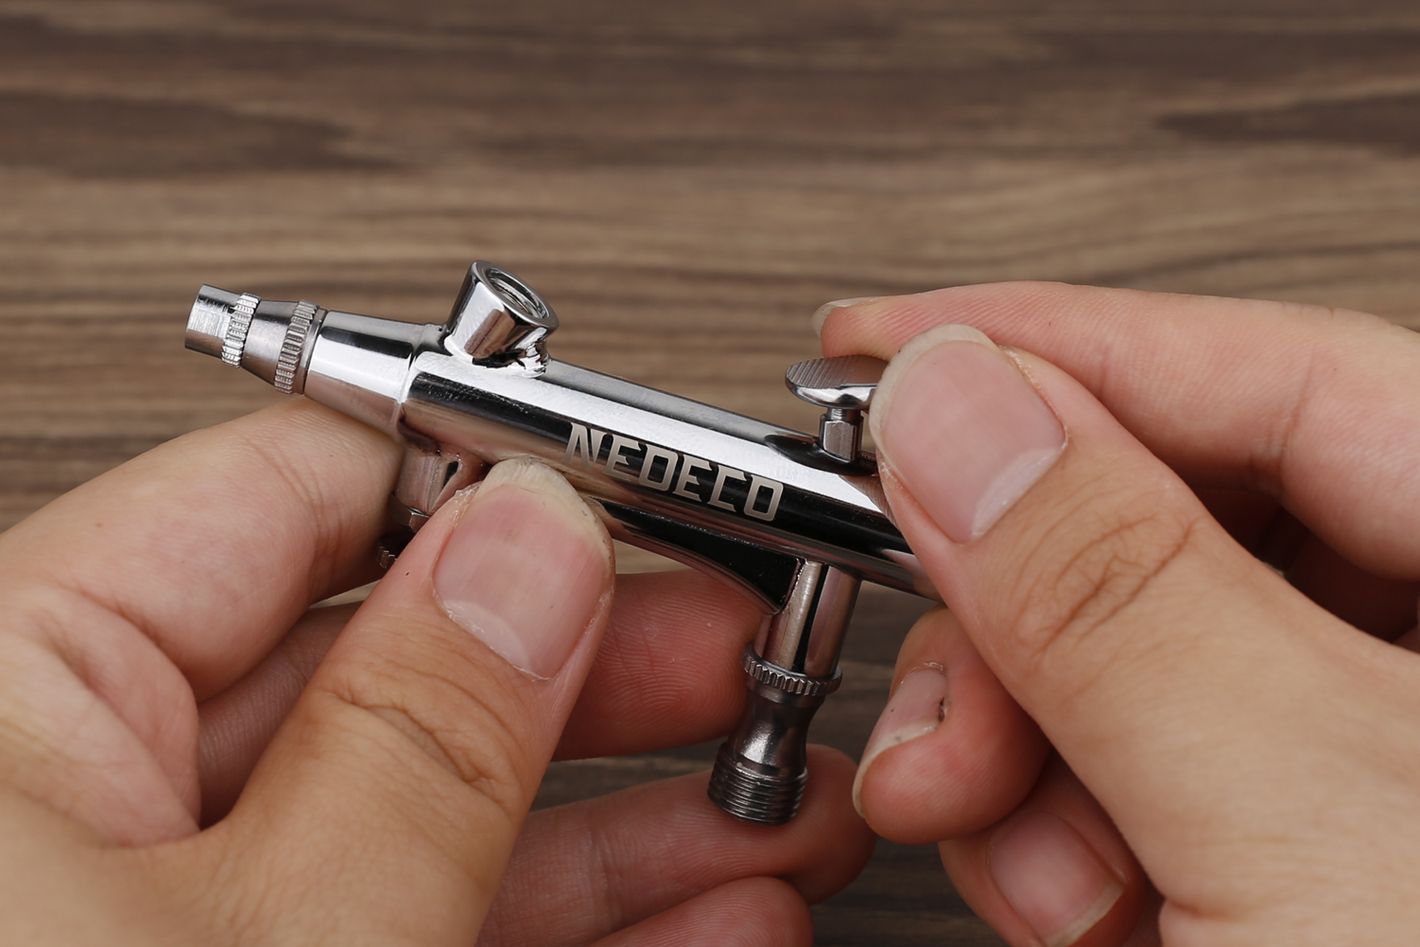
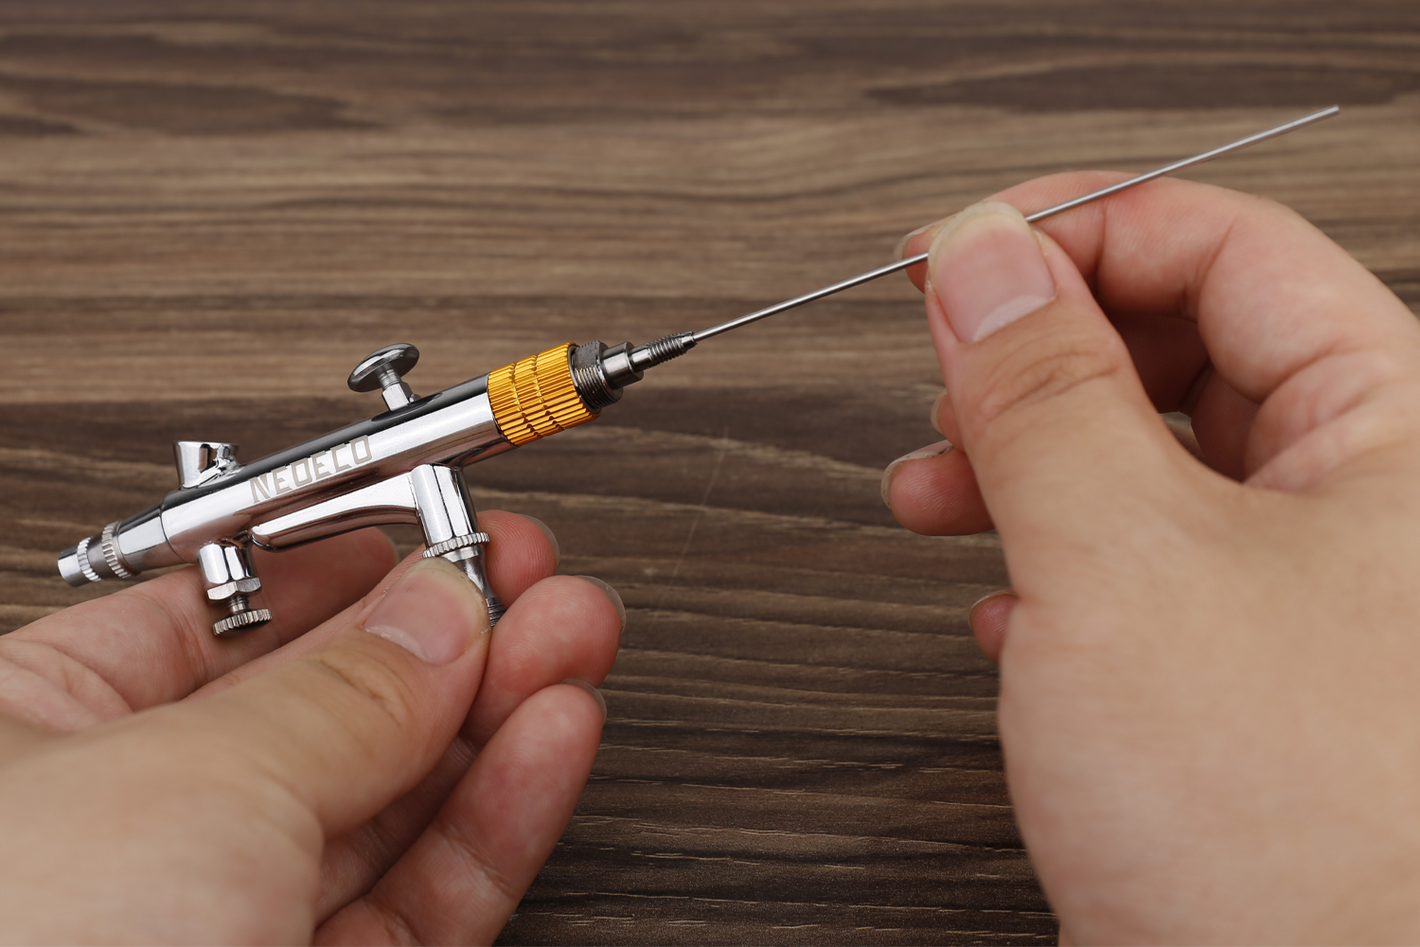
STEP 3
To proceed with removing the airbrush needle, carefully extract it from its position, ensuring a gentle and steady grip throughout the process.
-
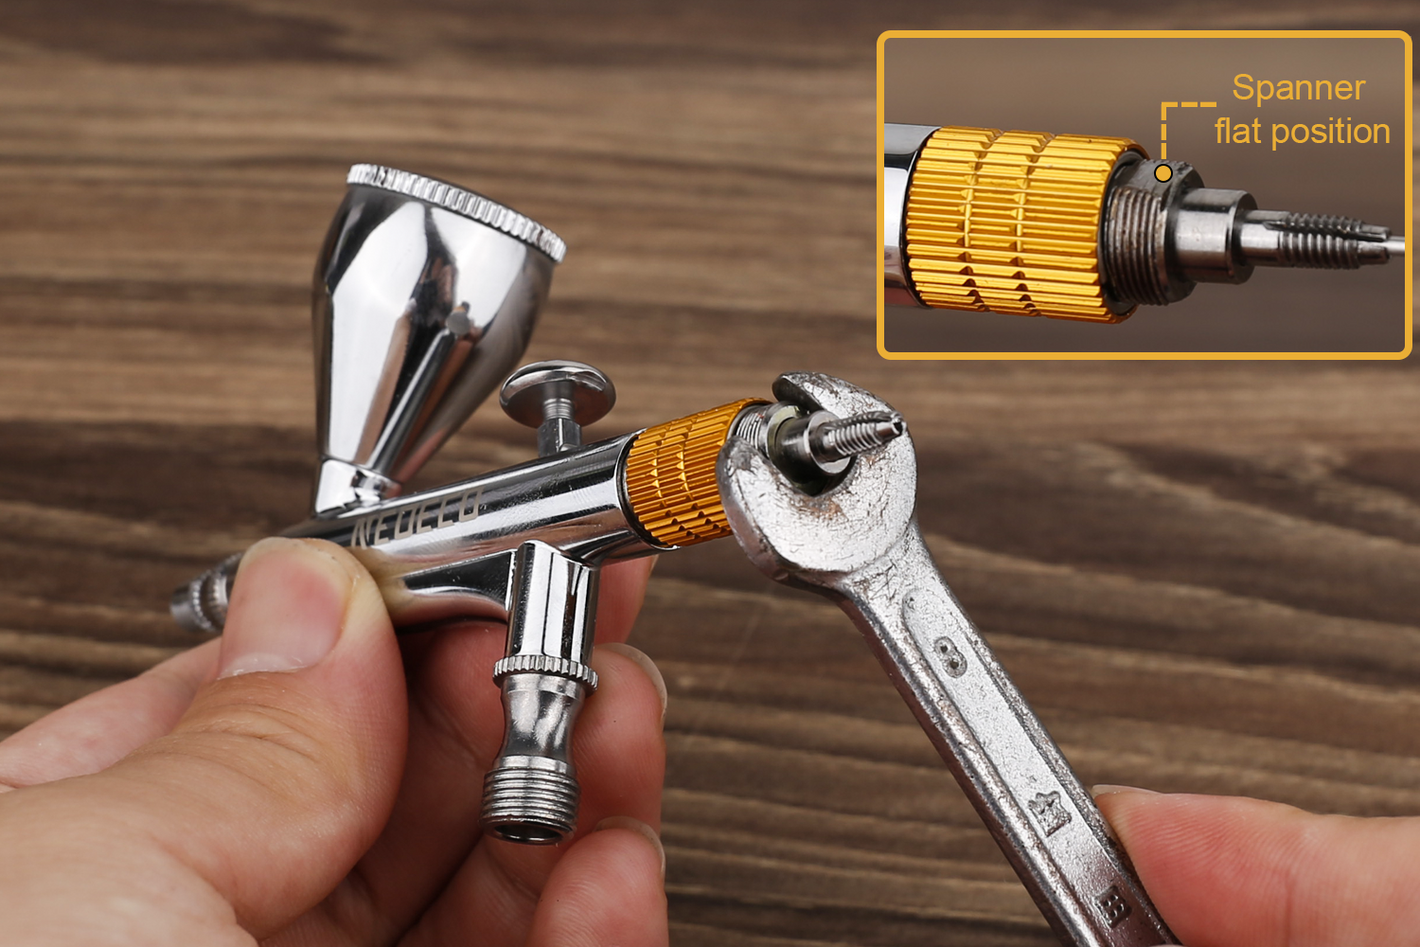
STEP 4
Use the adjustable spanner in a counterclockwise motion to loosen and unscrew it carefully.
-
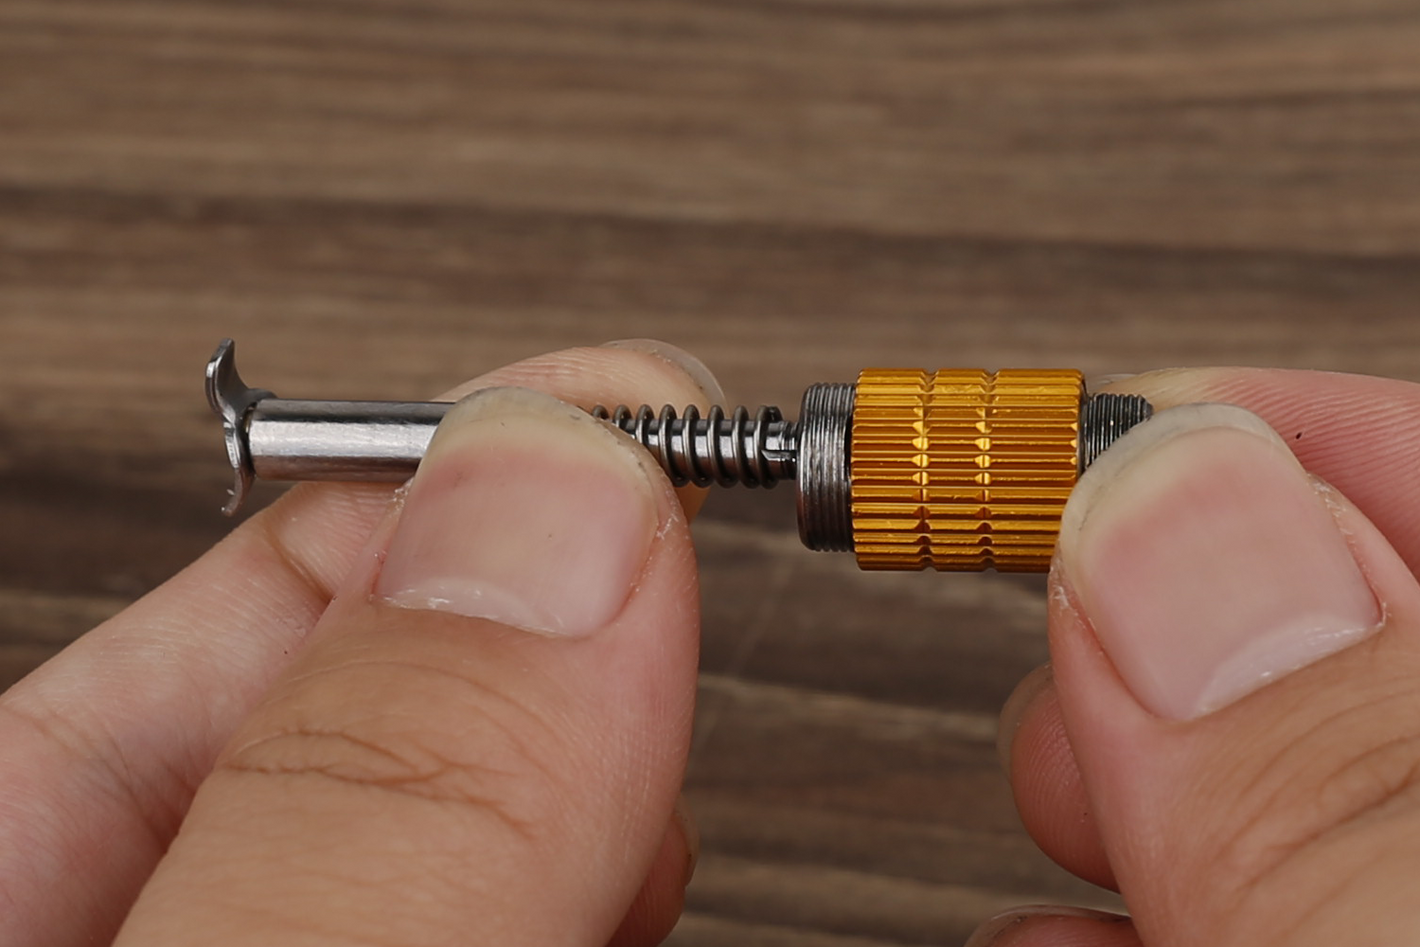
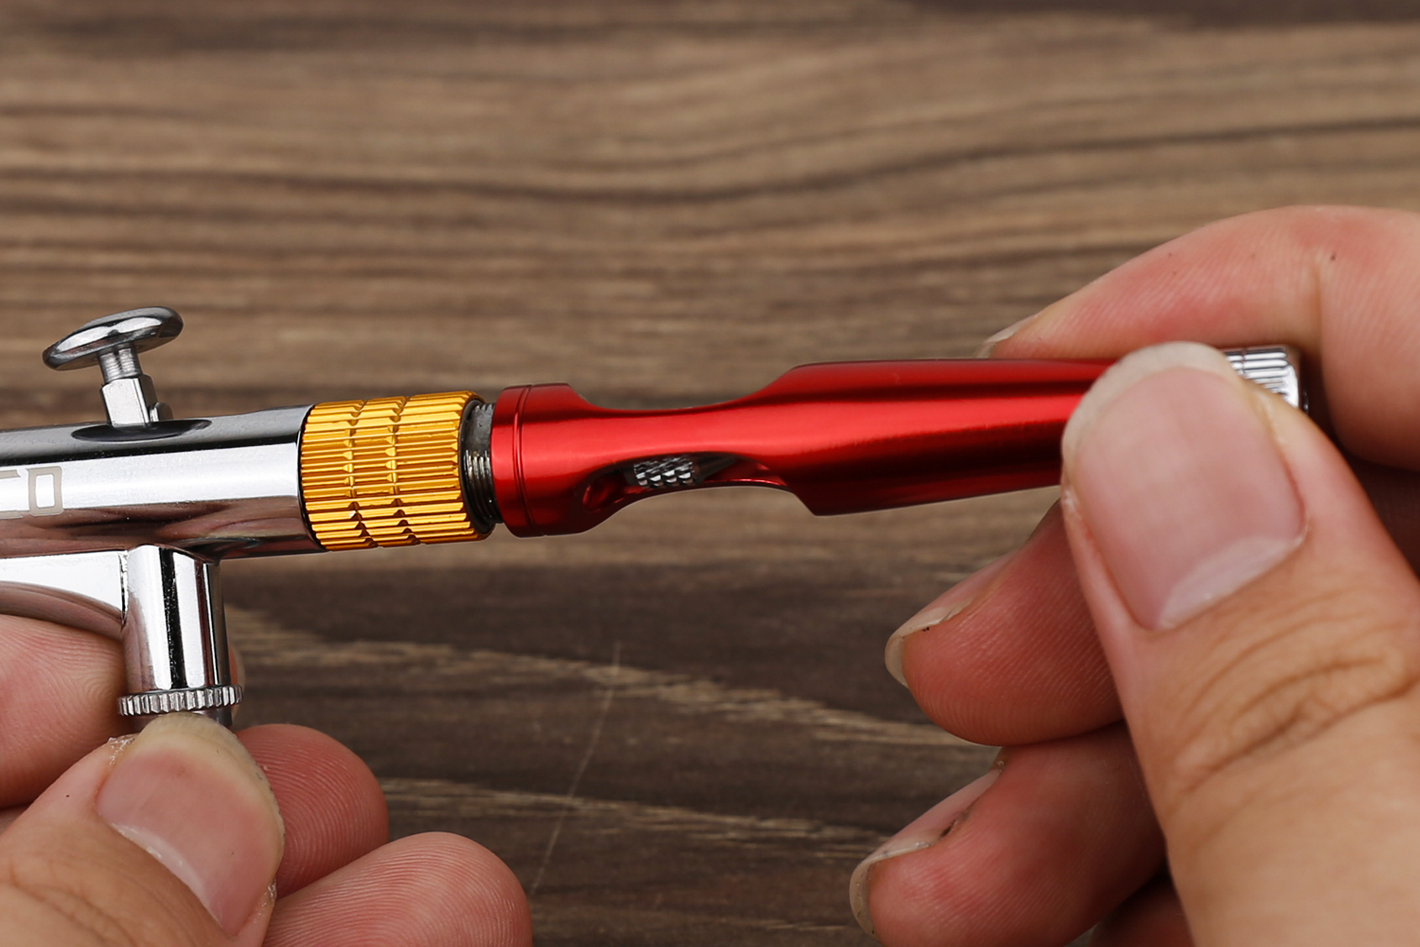
STEP 5
Detach the gold ring part from its current position.
-
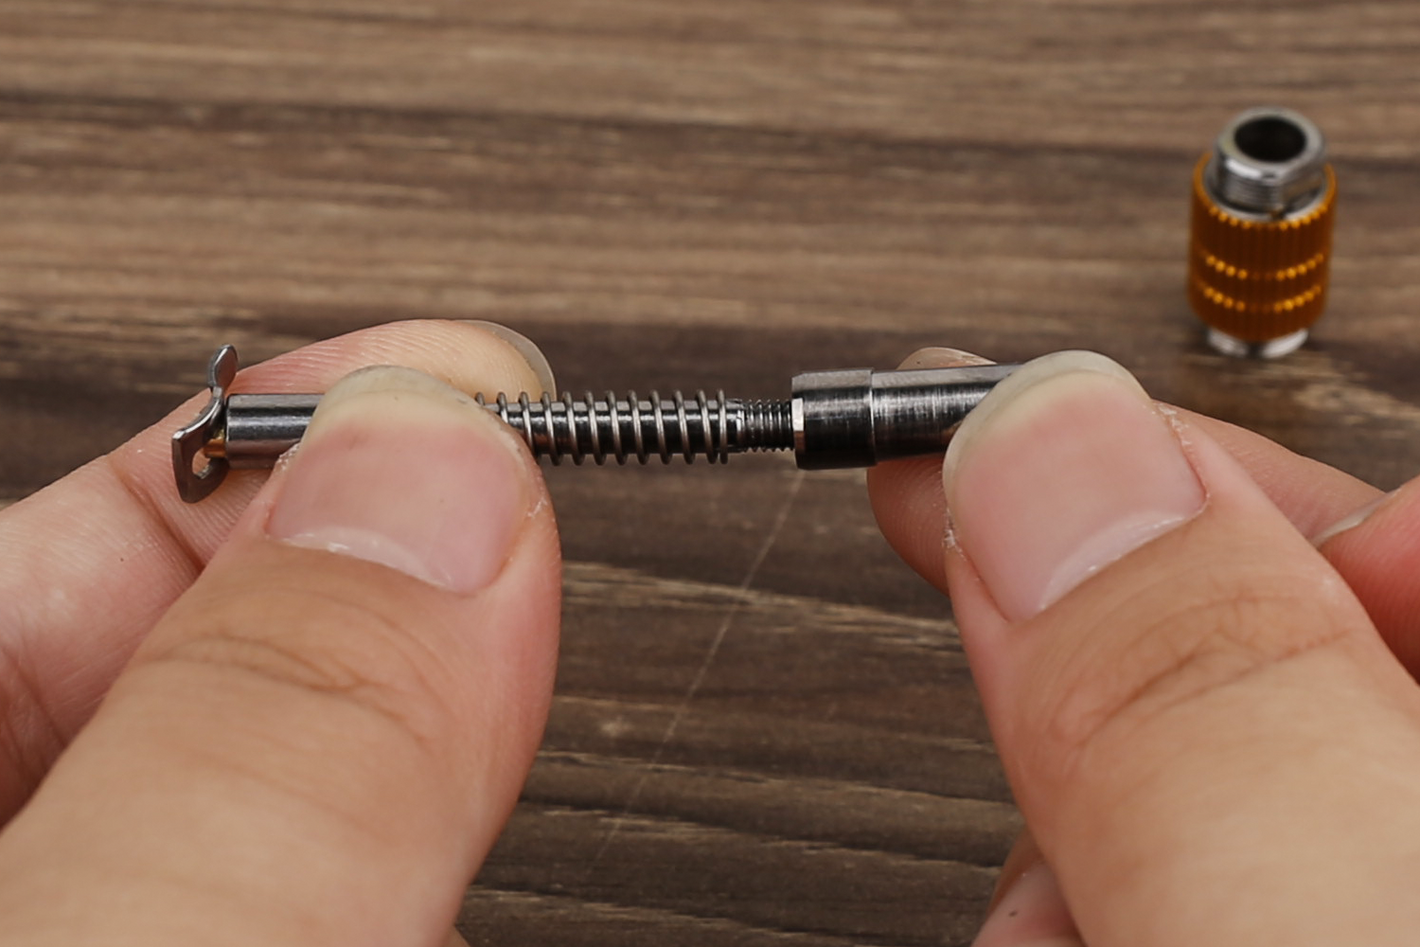
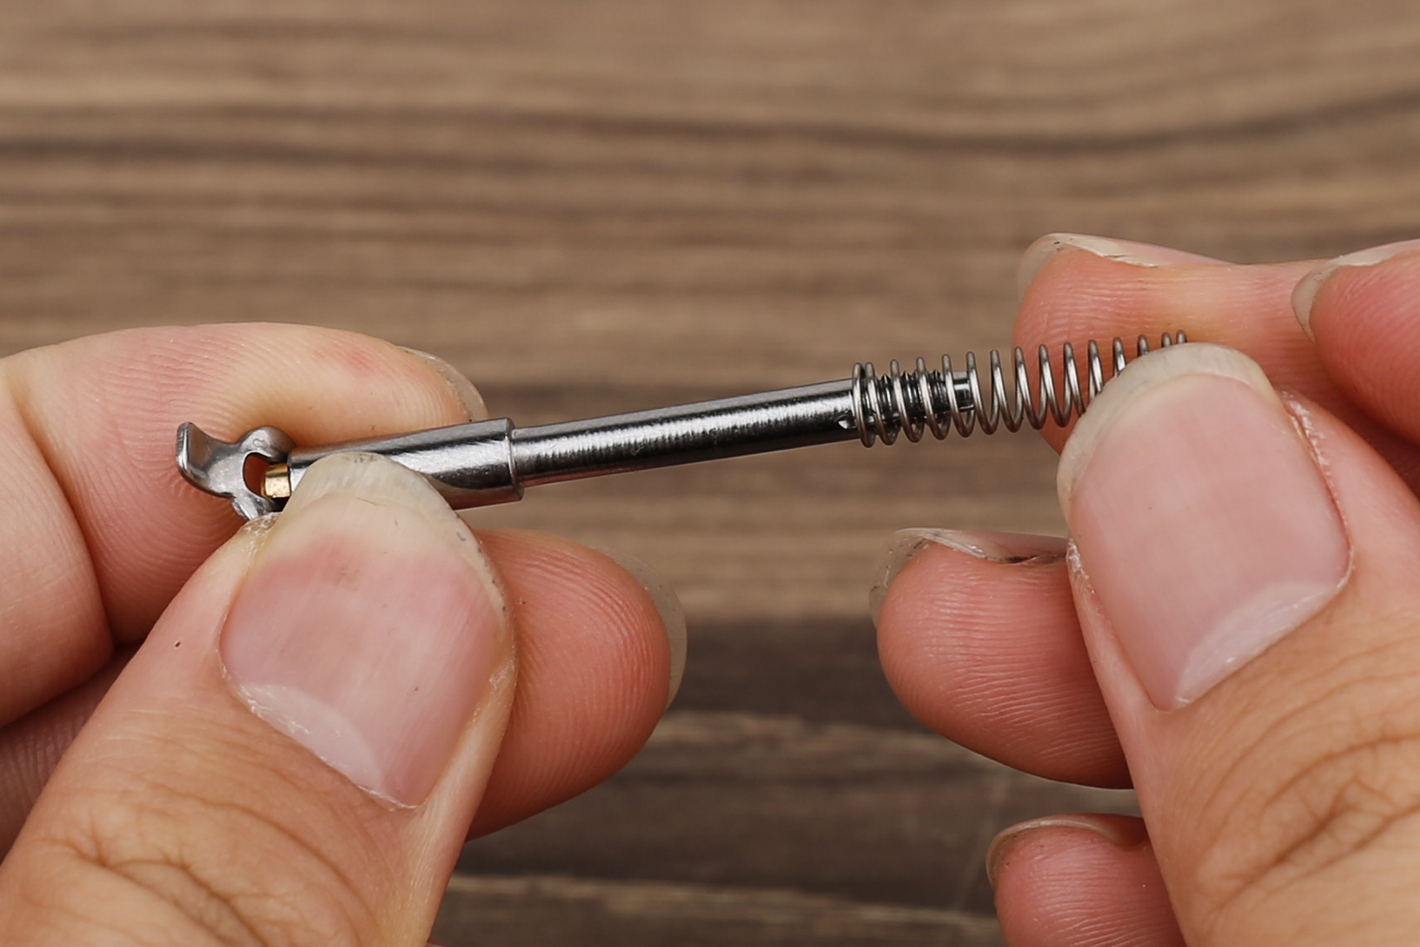
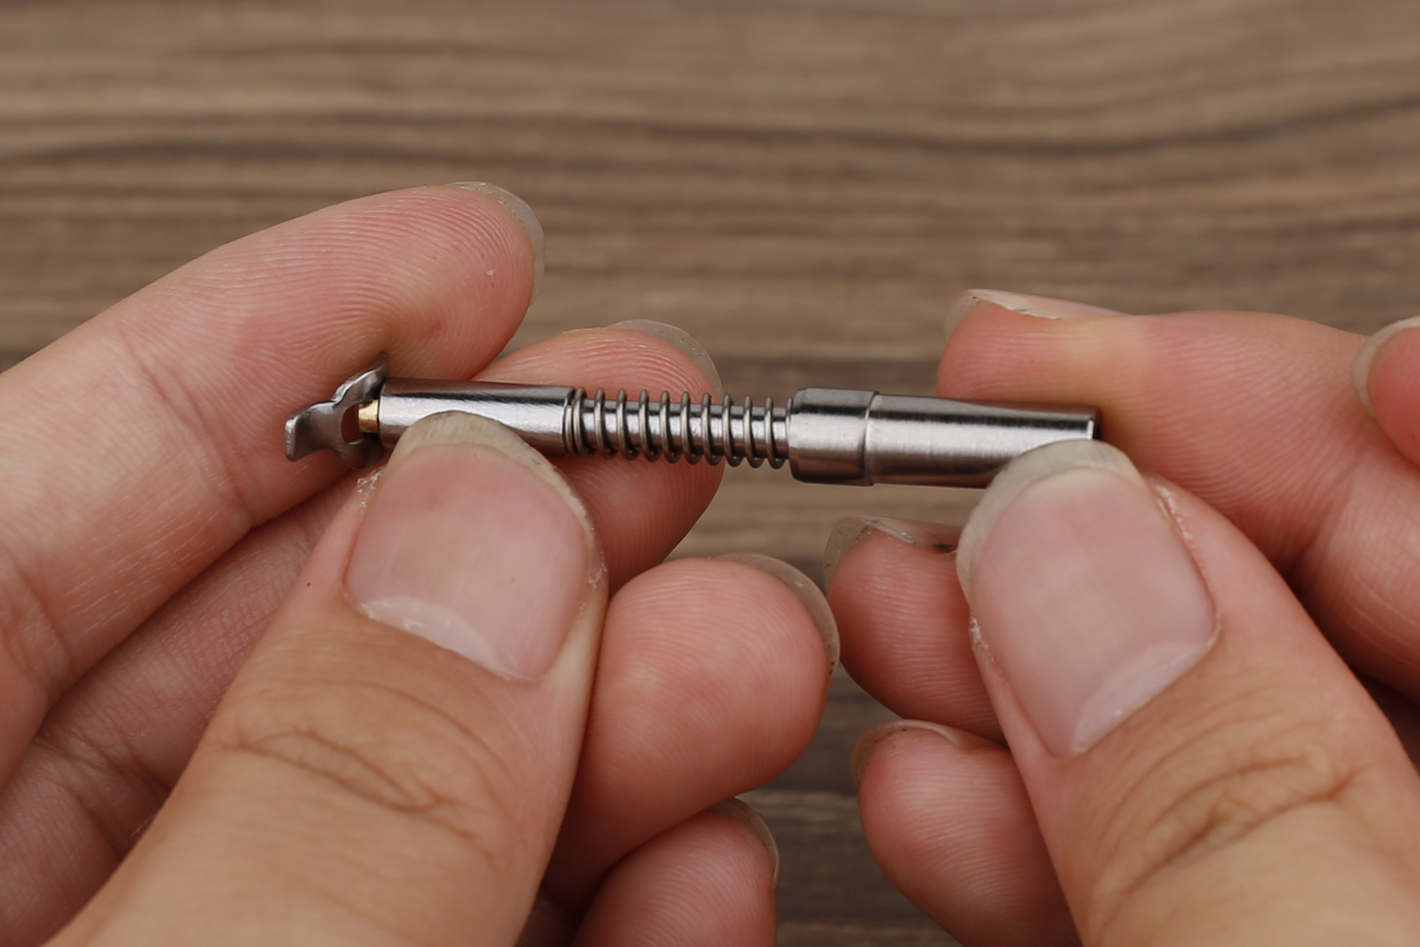
STEP 6
Disassemble the spring case, carefully separate the individual components by gently pulling them apart, ensuring a controlled and meticulous approach to avoid any damage or misalignment.
-
STEP 7
This will facilitate the cleaning process and help maintain a systematic approach to reassembling the components afterward.
-
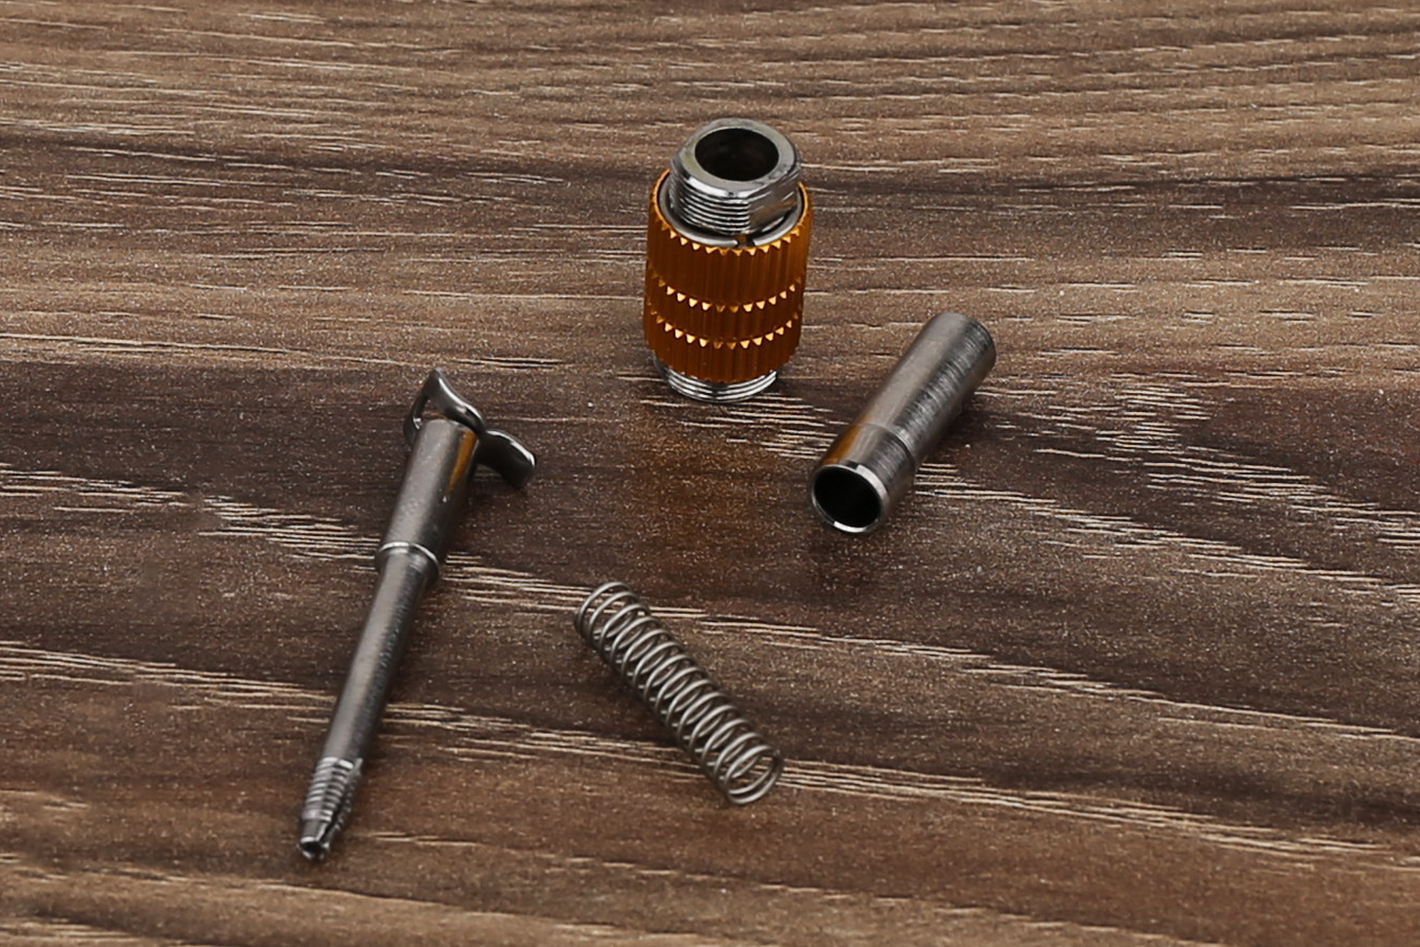
STEP 8
To prepare the parts for cleaning, place them adjacent to each other, ensuring they are organized and readily accessible.Remove the airbrush lever, gently extract it from its position, ensuring a careful and controlled grasp to avoid any potential damage or misalignment.
-
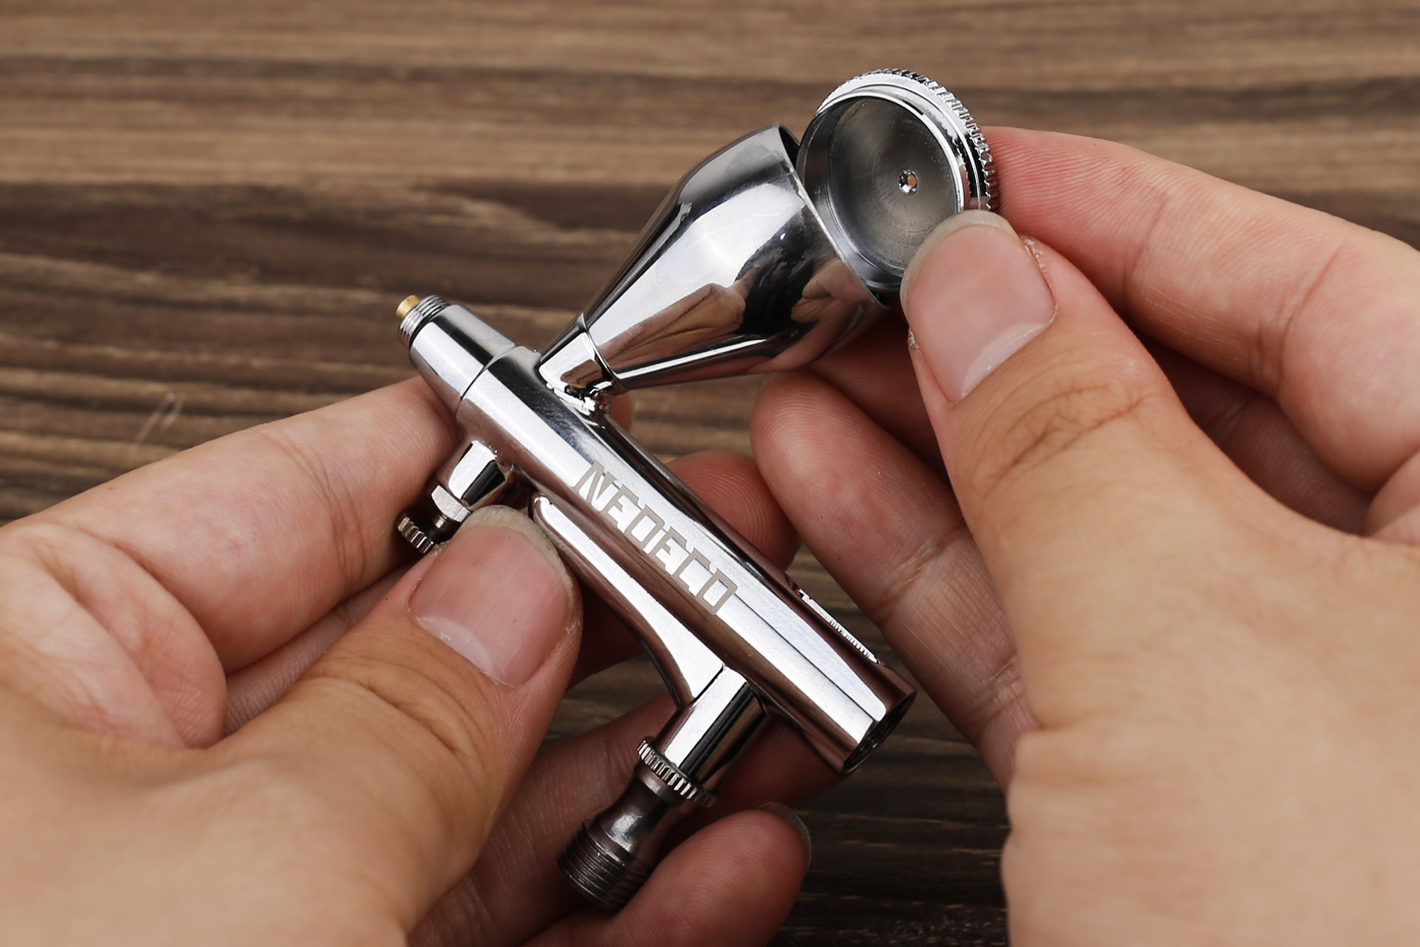
STEP 9
Carefully rotate the needle cap in a counterclockwise direction until it becomes loose and can be unscrewed easily, ensuring a gentle and controlled approach to avoid any mishaps.
-
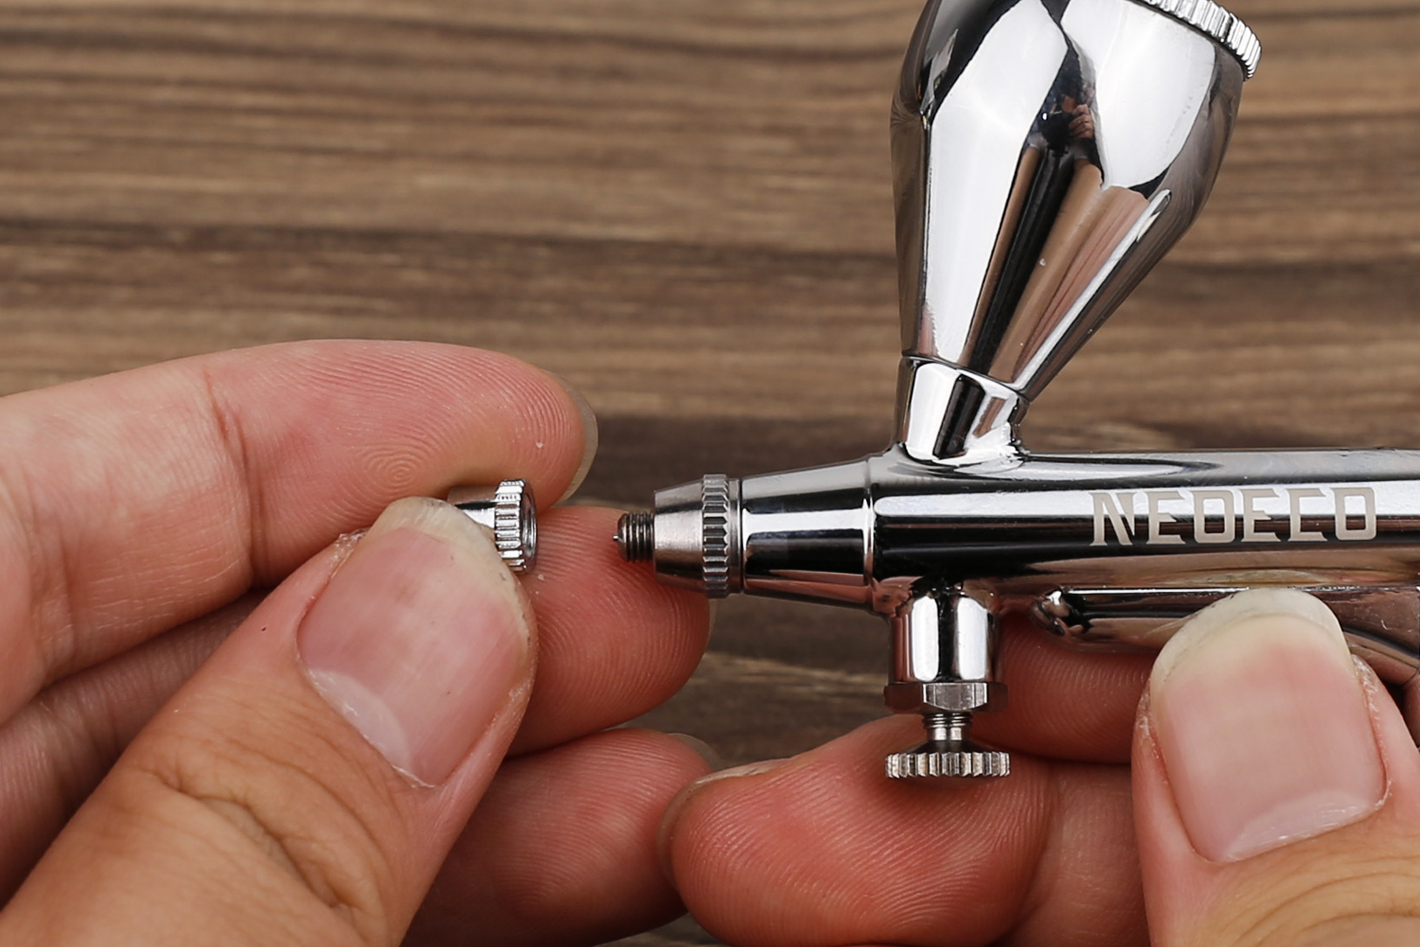
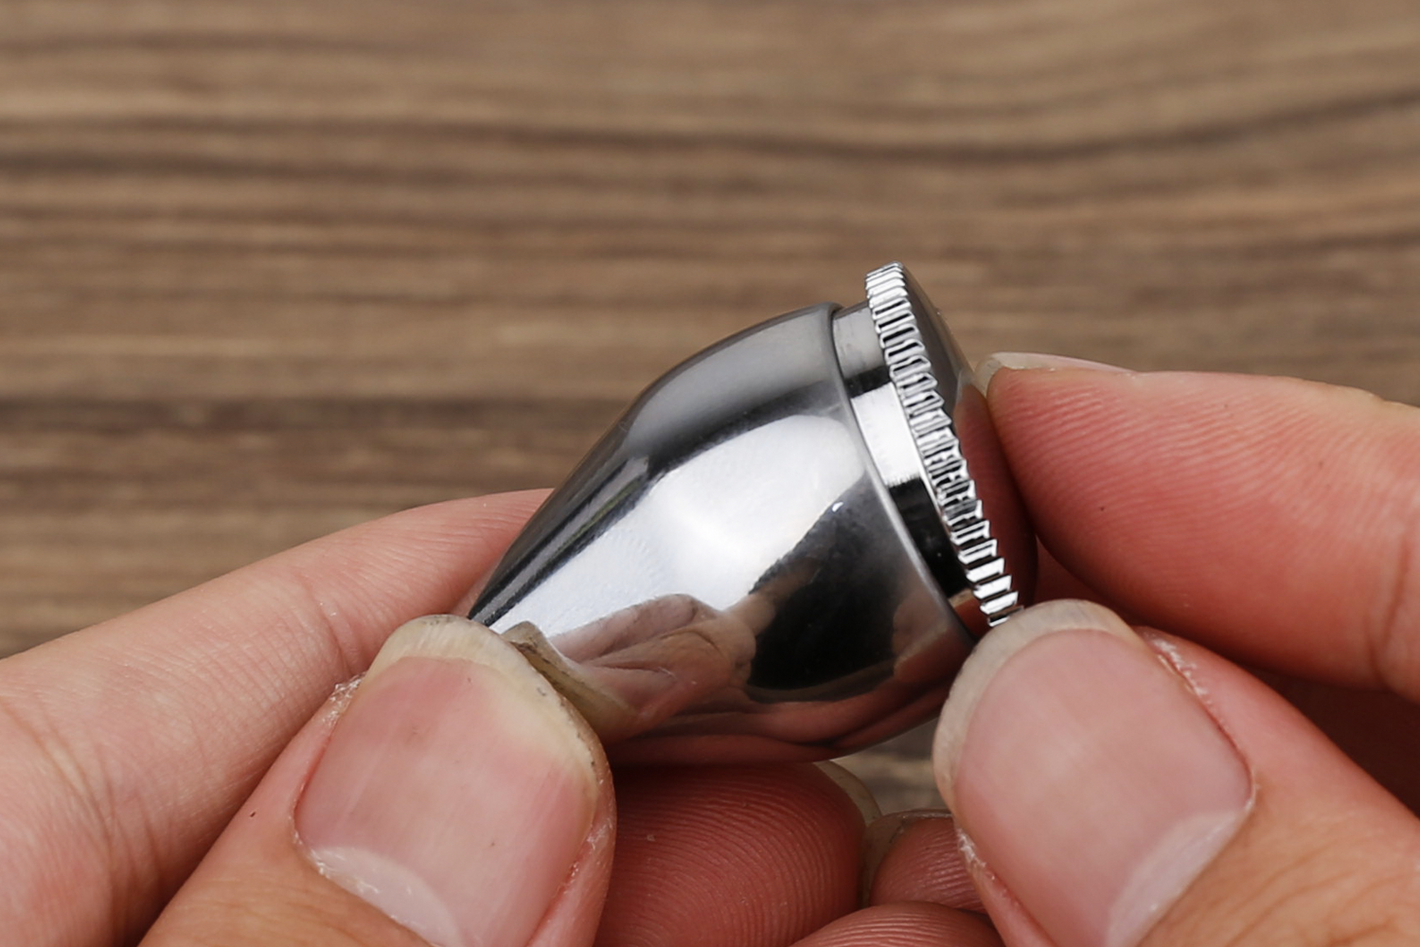
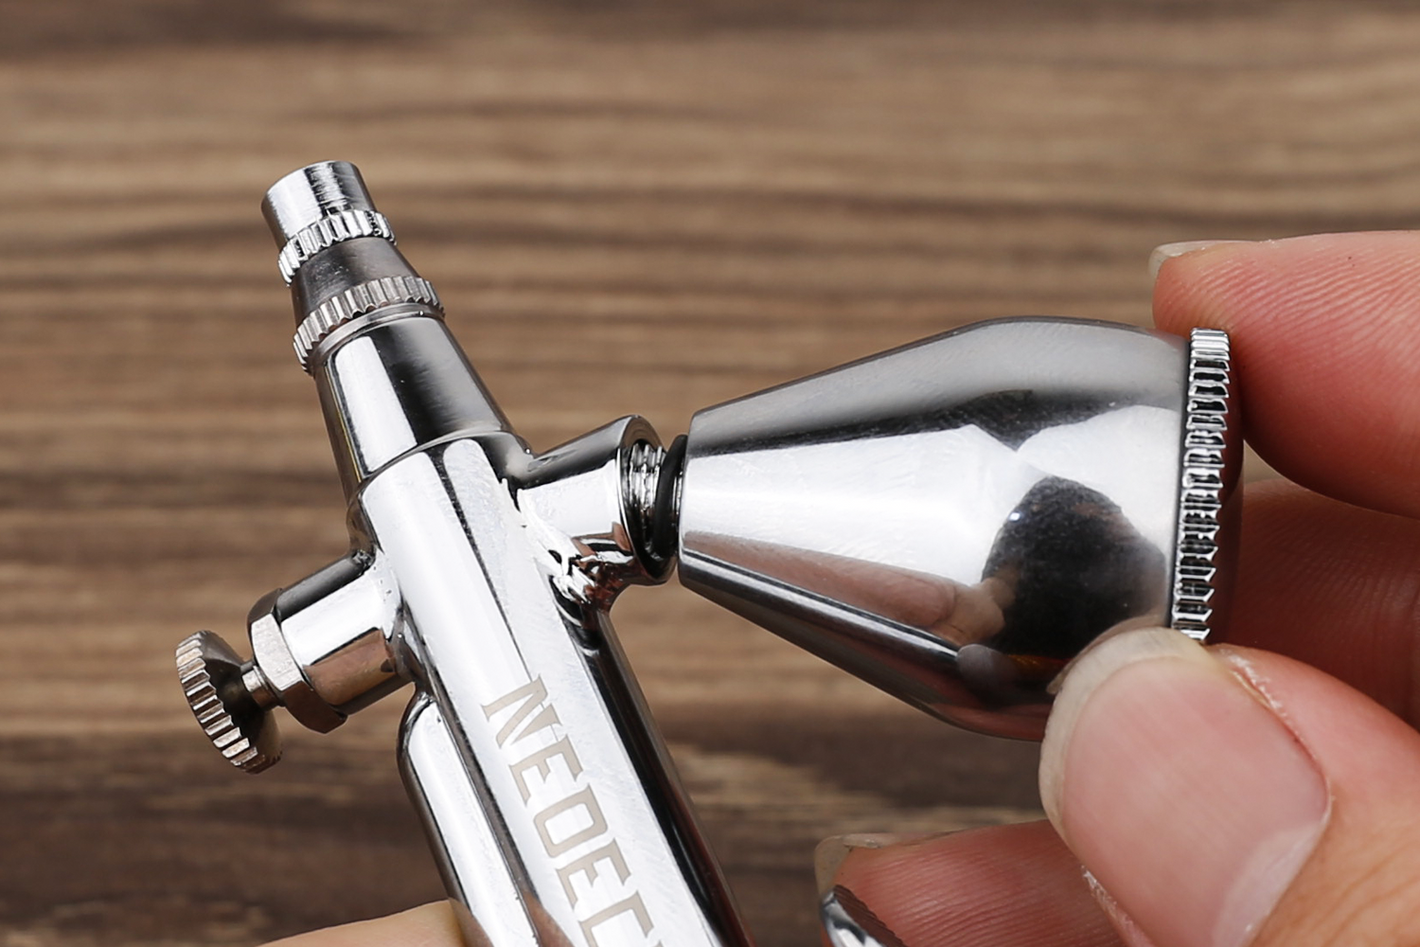
STEP 10
Unscrew the air cap.
-
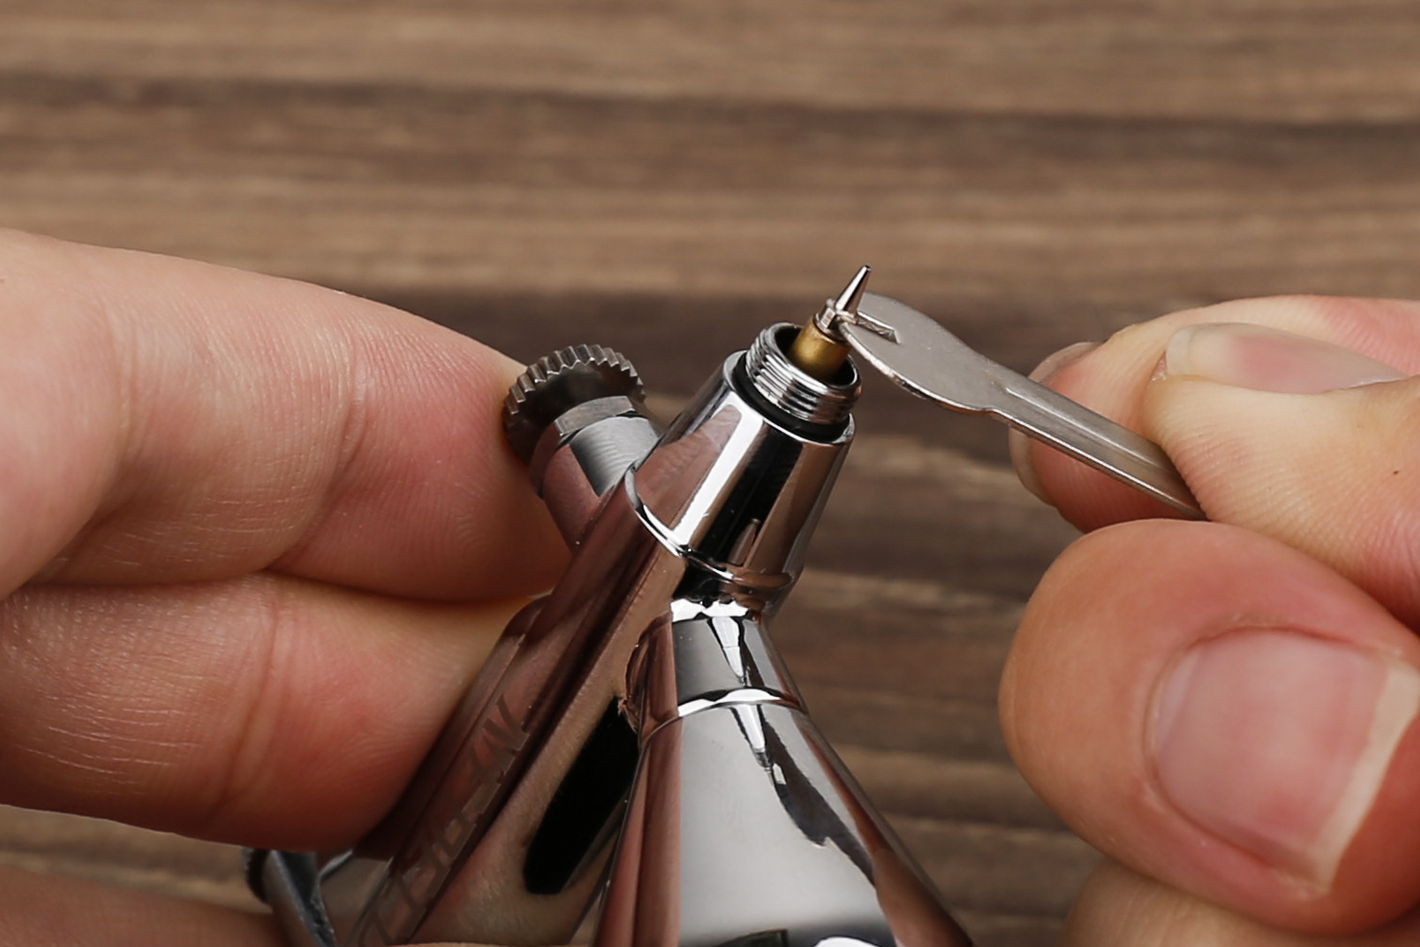
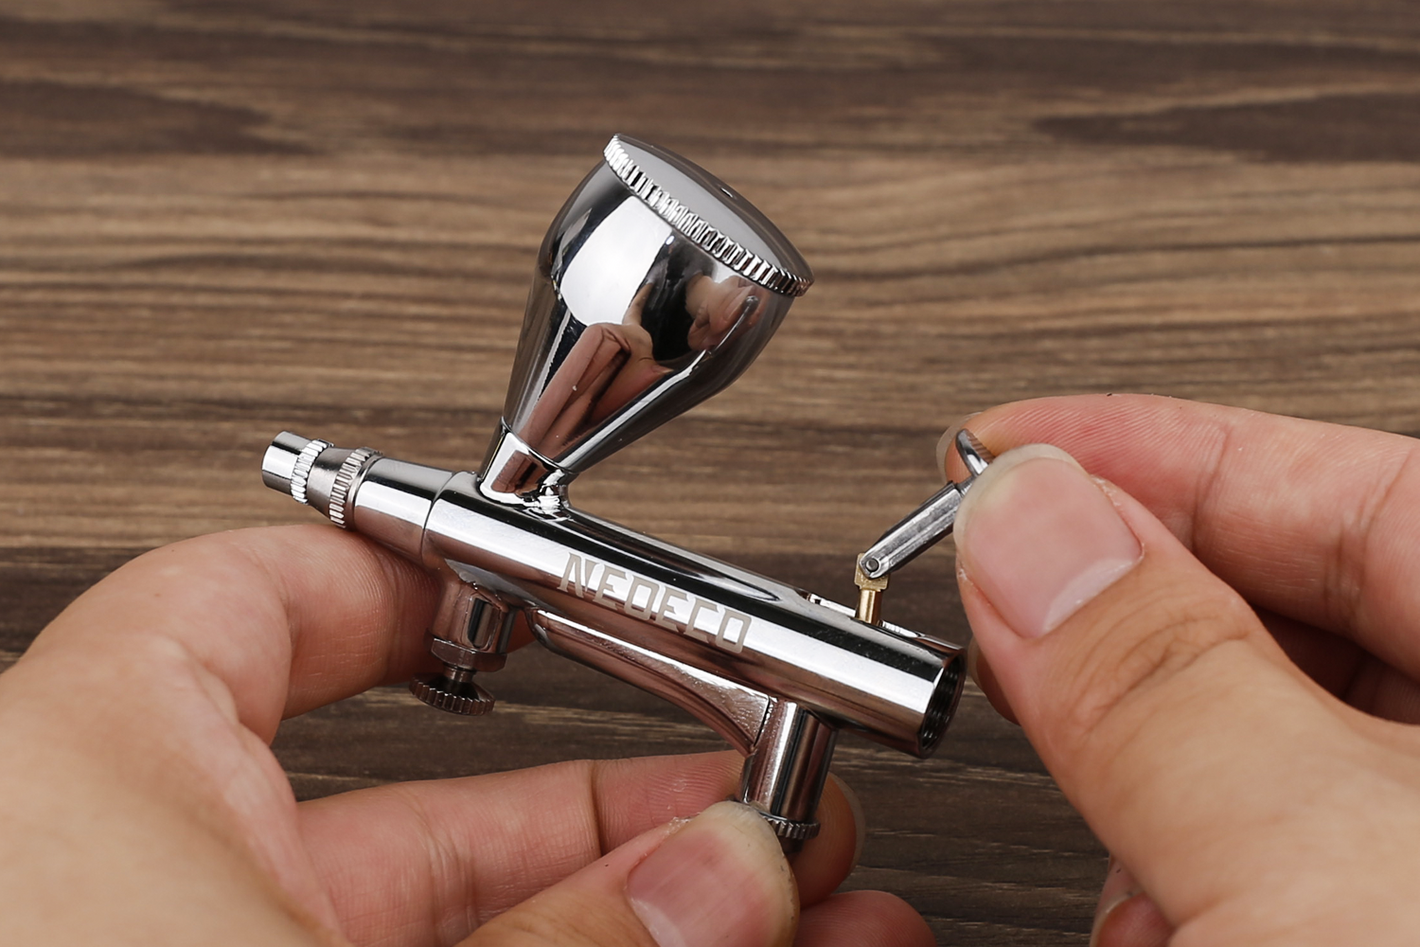
STEP 11
Employ the small wrench by inserting it into the designated area and carefully turning it in a counterclockwise direction.
-
STEP 12
Remove the fluid cup lid.
-
STEP 13
Unscrew the fluid cup to remove it.
-
STEP 14
Now that you have disassembled the airbrush.
-

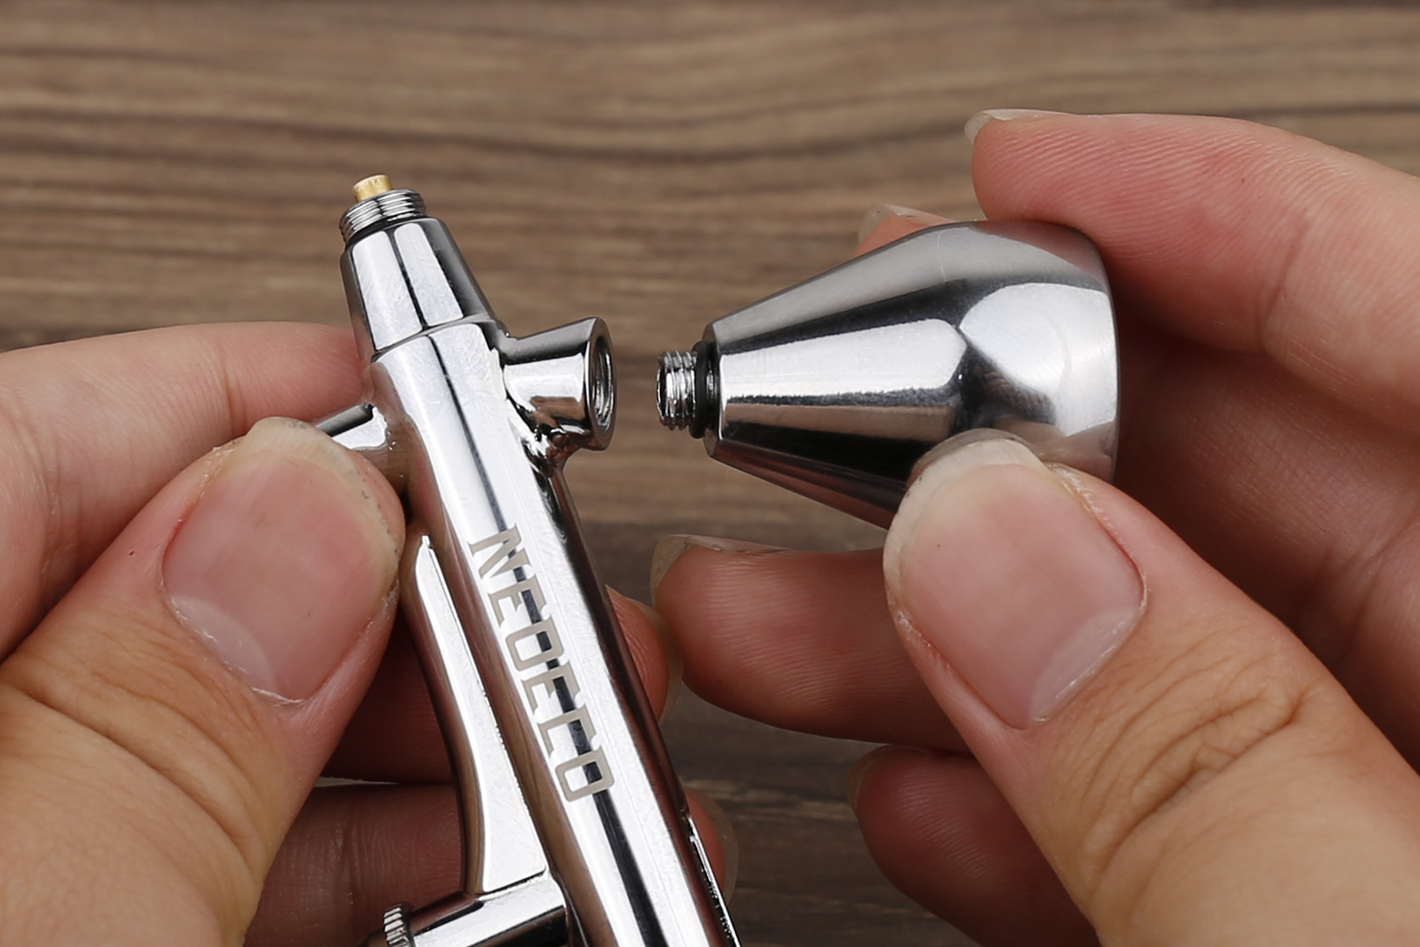
STEP 15
Carefully align the nozzle with its designated position and gently screw it in a clockwise direction until it is securely tightened. Ensure a firm connection to prevent any air or paint leakage during operation.
-
STEP 16
Carefully thread and tighten the airbrush air cap onto the airbrush body in a clockwise direction. Ensure a firm and secure connection by gently rotating the cap until it is snugly screwed onto the airbrush, allowing for proper airflow and control during operation.
-
STEP 17
Carefully screw the airbrush needle cap onto the airbrush body by turning it in a clockwise direction.
-
STEP 18
Carefully position the airbrush lever onto its designated spot and align it with the lever slot. Gently push or slide the lever into place until it fits securely and smoothly. Make sure the lever moves freely and is properly seated to ensure smooth operation and control during use.
-
STEP 19
Take the spring and insert it onto the airbrush needle chucking.
-
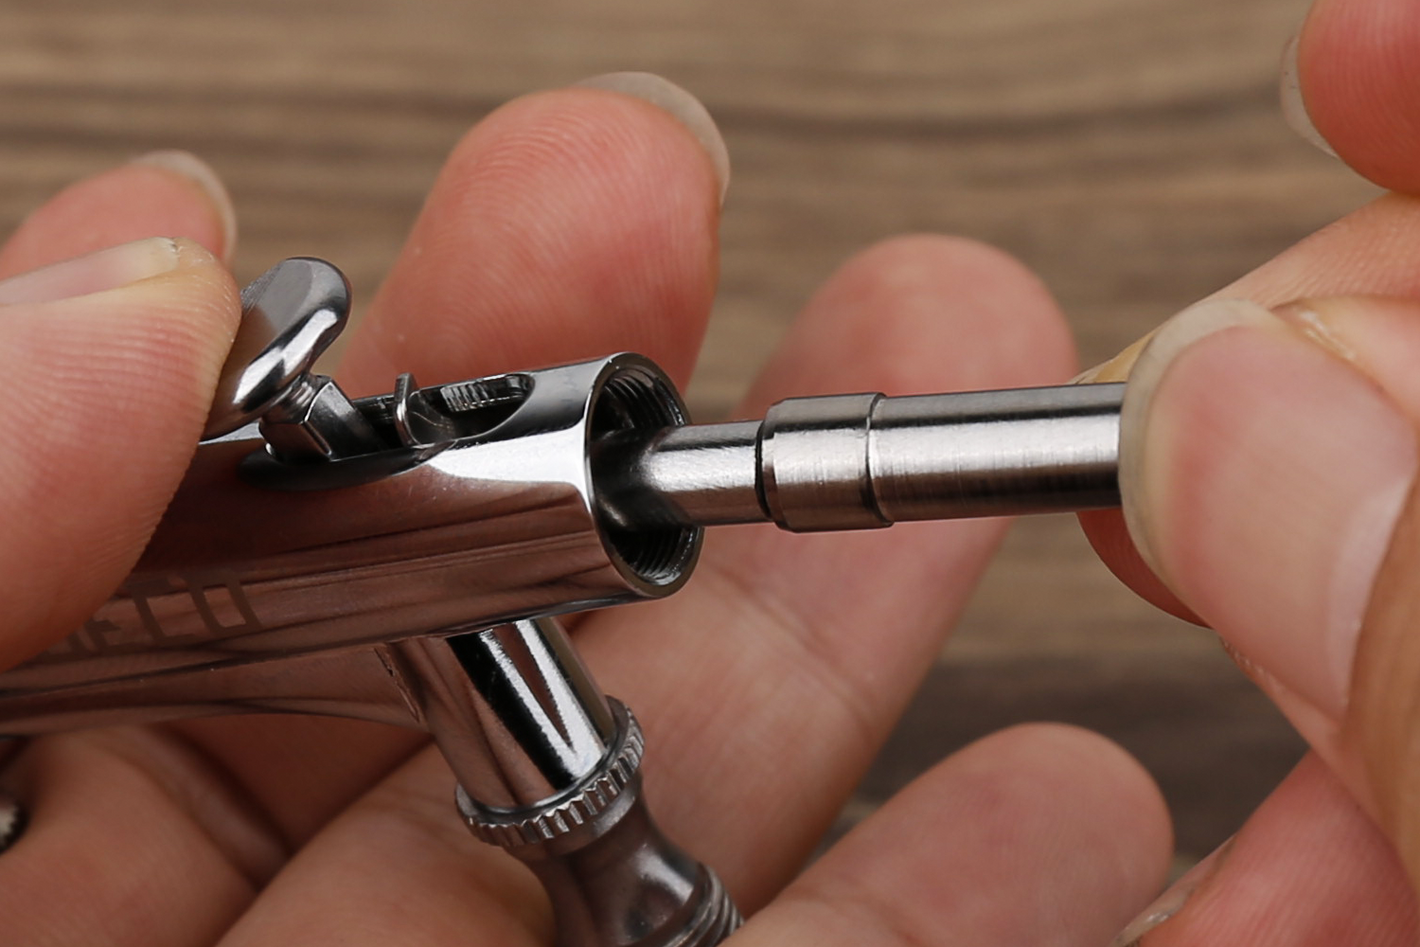
STEP 20
Position the spring case in such a way that the grooves or notches on the case match with the corresponding slots or ridges on the needle chucking.
-
STEP 21
Place the fully assembled needle chucking components delicately into the airbrush.
-
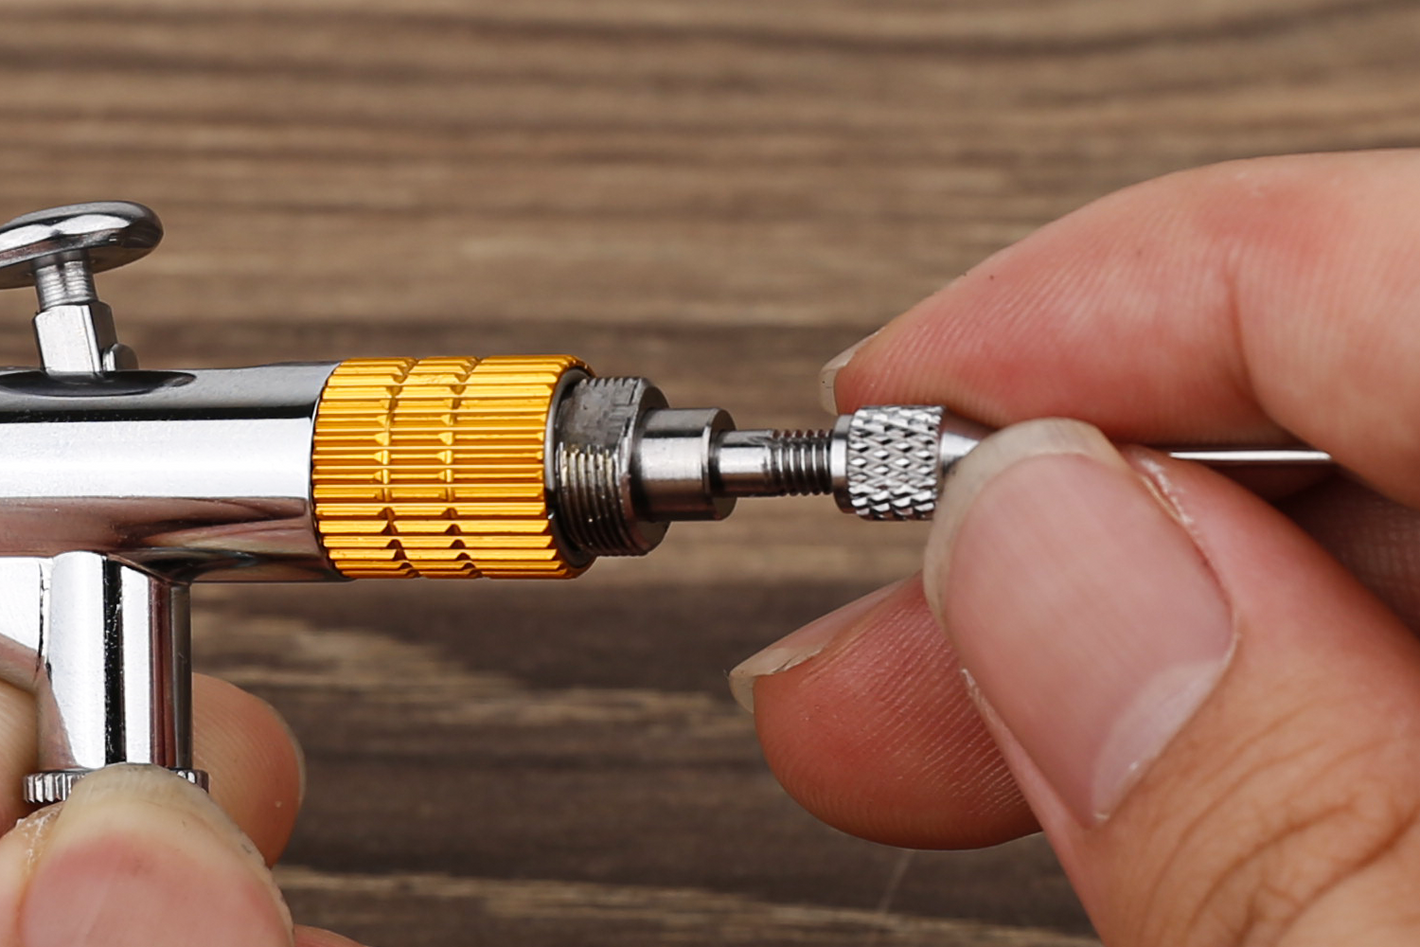
STEP 22
Fasten the gold ring component onto the airbrush by securely screwing it in place.
-
STEP 23
Gently insert the airbrush needle into its designated slot.
-
STEP 24
Proceed to screw on and firmly fasten the airbrush needle chucking nut, securing the needle in place.
-
STEP 25
Twist and tighten the airbrush handle by turning it in a clockwise direction until it is securely screwed in place.
-
STEP 26
Place the airbrush cup lid onto the cup, ensuring a snug and secure fit.
-
STEP 27
Screw the airbrush cup onto the airbrush body, tightening it securely to prevent any leakage.


