First time set up
Setting up an airbrush is a straightforward process, but it can be challenging for beginners who lack basic knowledge about the airbrush system. That's why we strongly recommend starting with our "Education" page, where you can learn the essential information about airbrushing. By familiarizing yourself with these fundamentals, you'll become more comfortable with the airbrush and be better prepared to follow the instructions in this article effectively. Taking the time to learn the basics will greatly enhance your understanding and enable you to make the most of the airbrushing experience.
Please note that the kit provided below is merely a sample kit. To determine the correct package list for the specific kit you purchased, we kindly advise you to refer to the product page for accurate information.
-
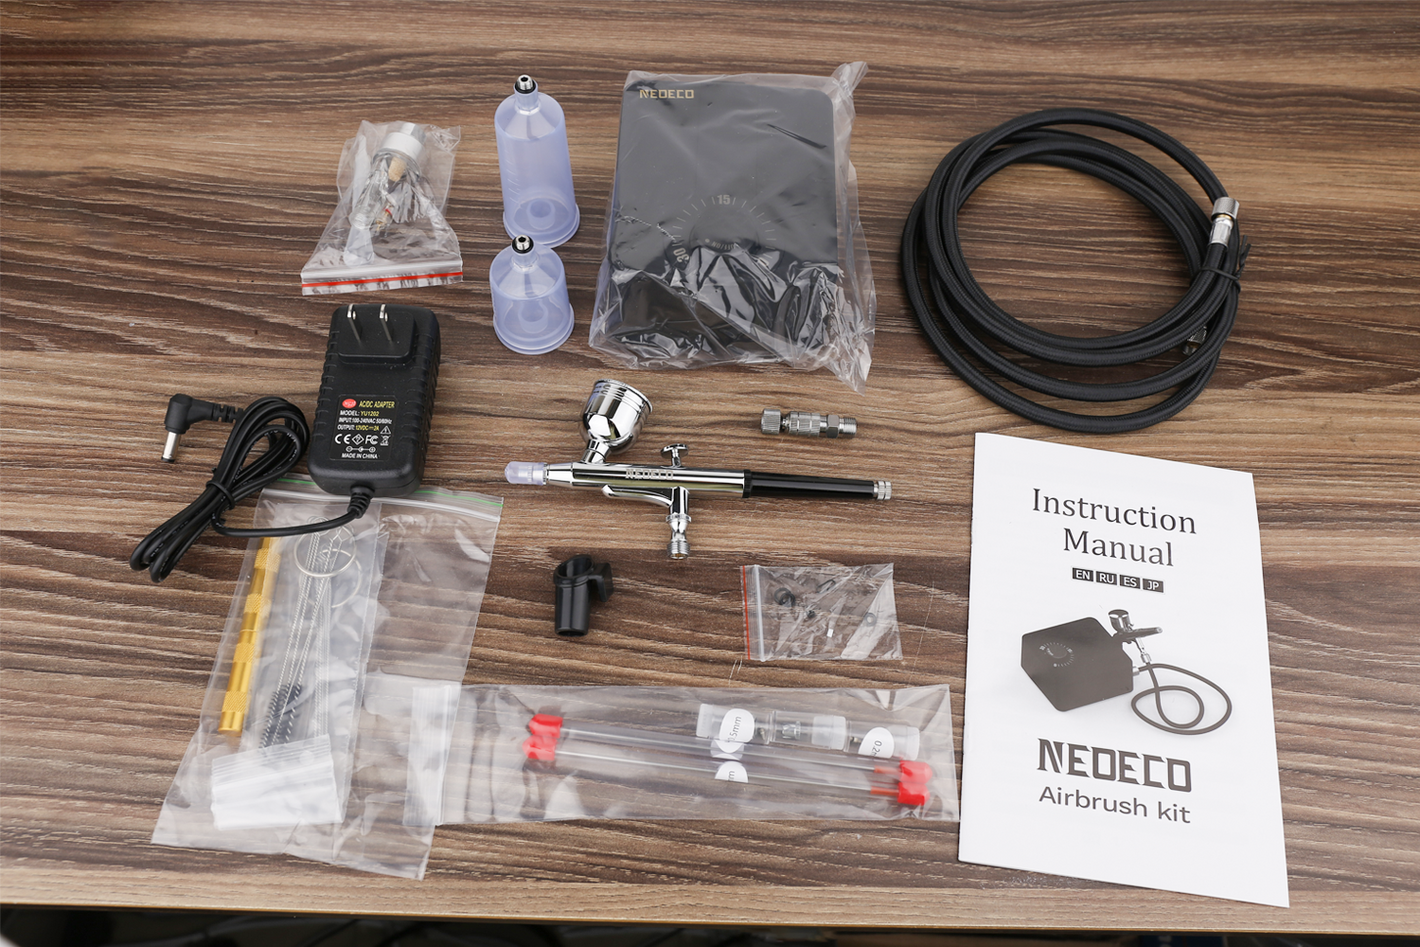
STEP 1
Check the products in the purchase link along with the accompanying pictures to confirm that you have received all the items you purchased.
-
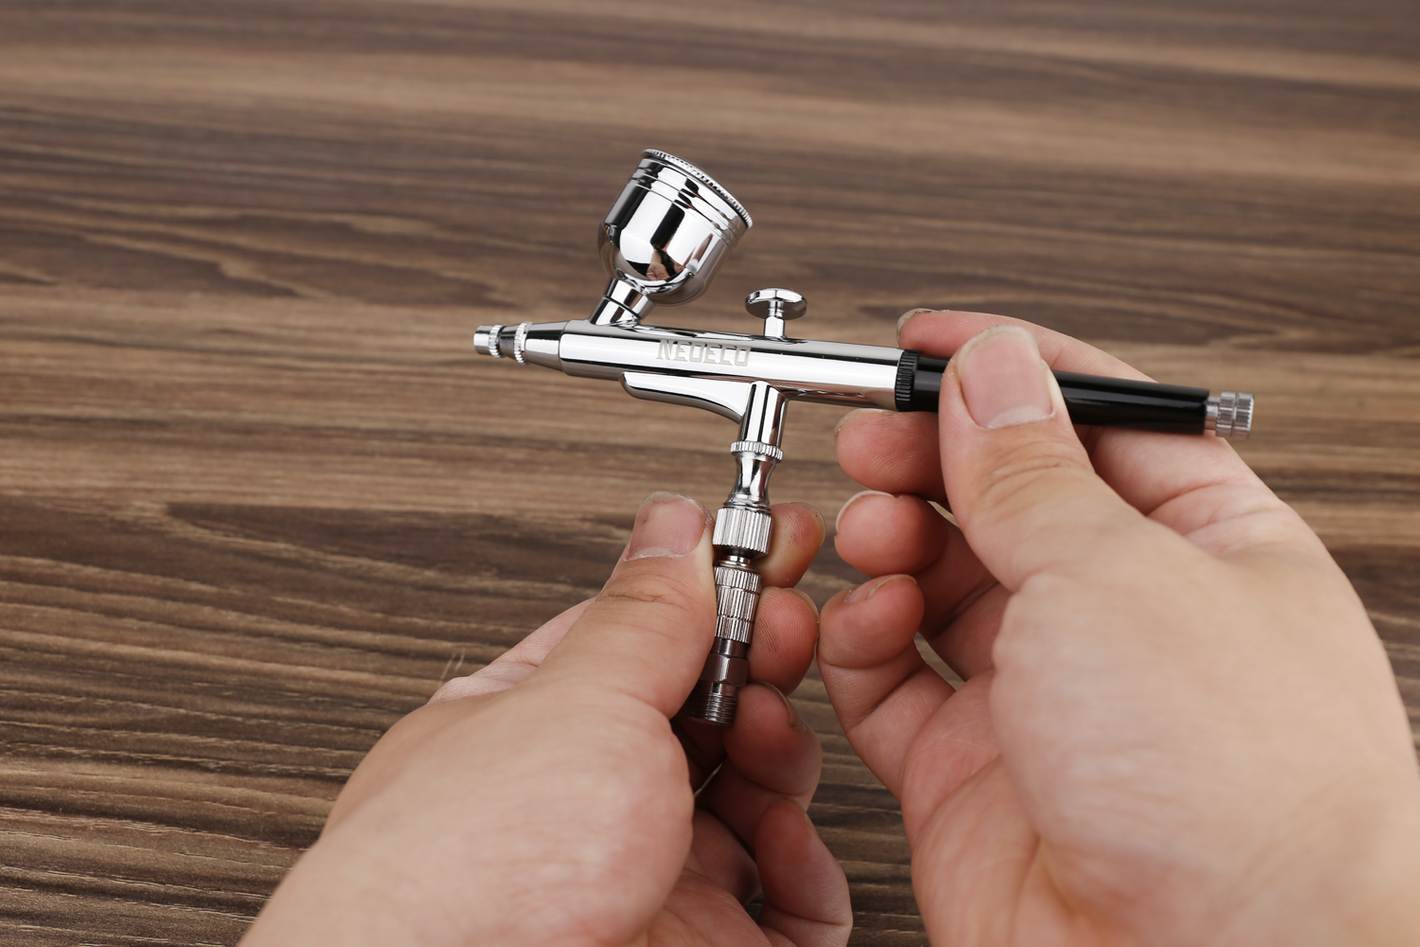
STEP 2
Connect the female side of the quick disconnect coupler to the airbrush.
-
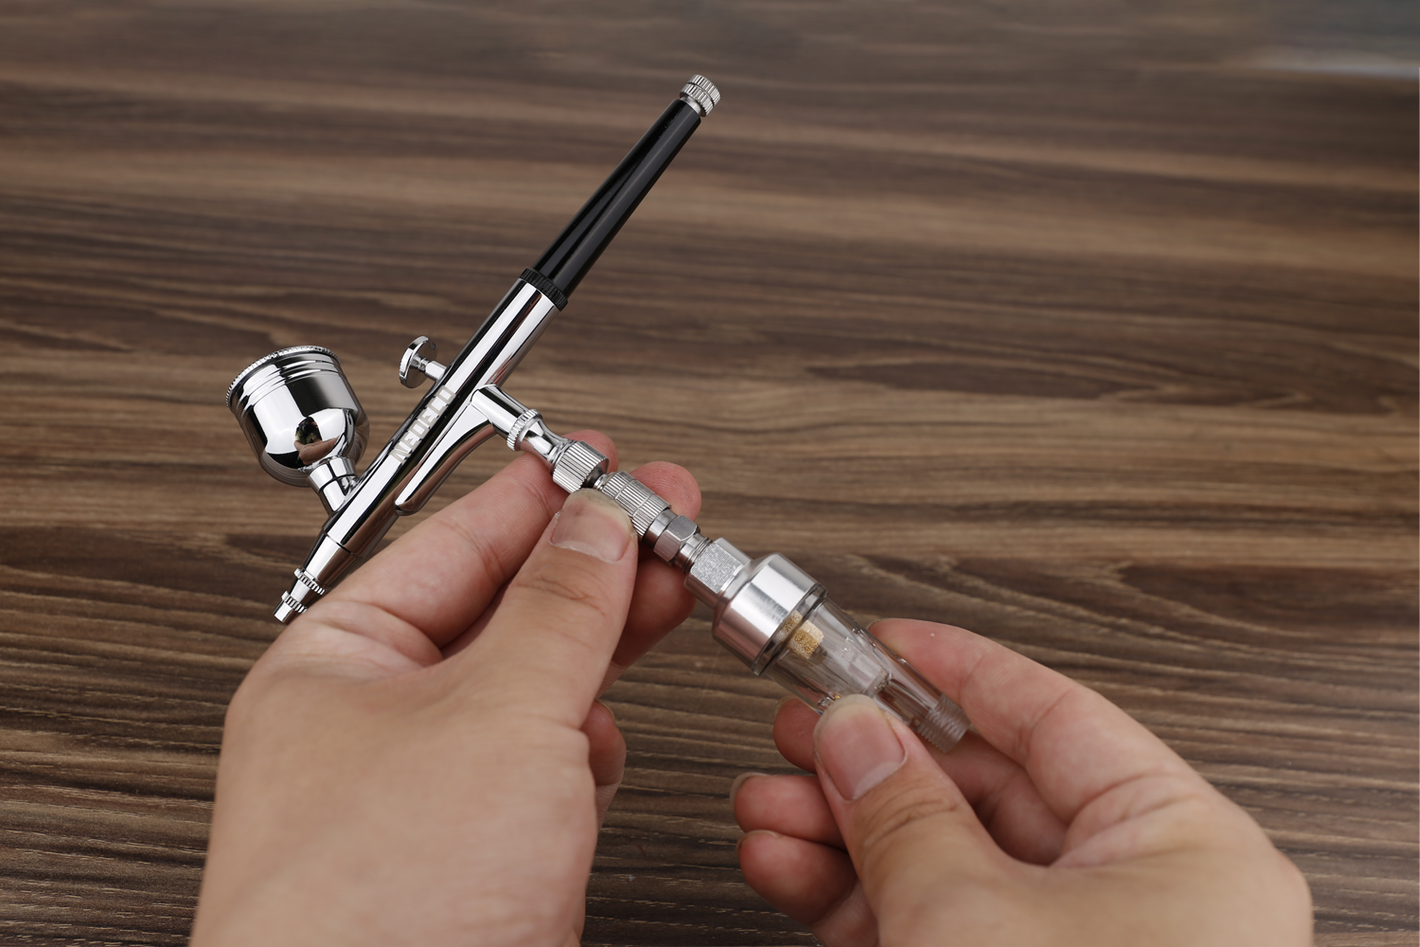
STEP 3
Connect the male side of the quick disconnect coupler with the female side of the moisture trap.
-

STEP 4
Connect the male side of the moisture trap with the hose.
-
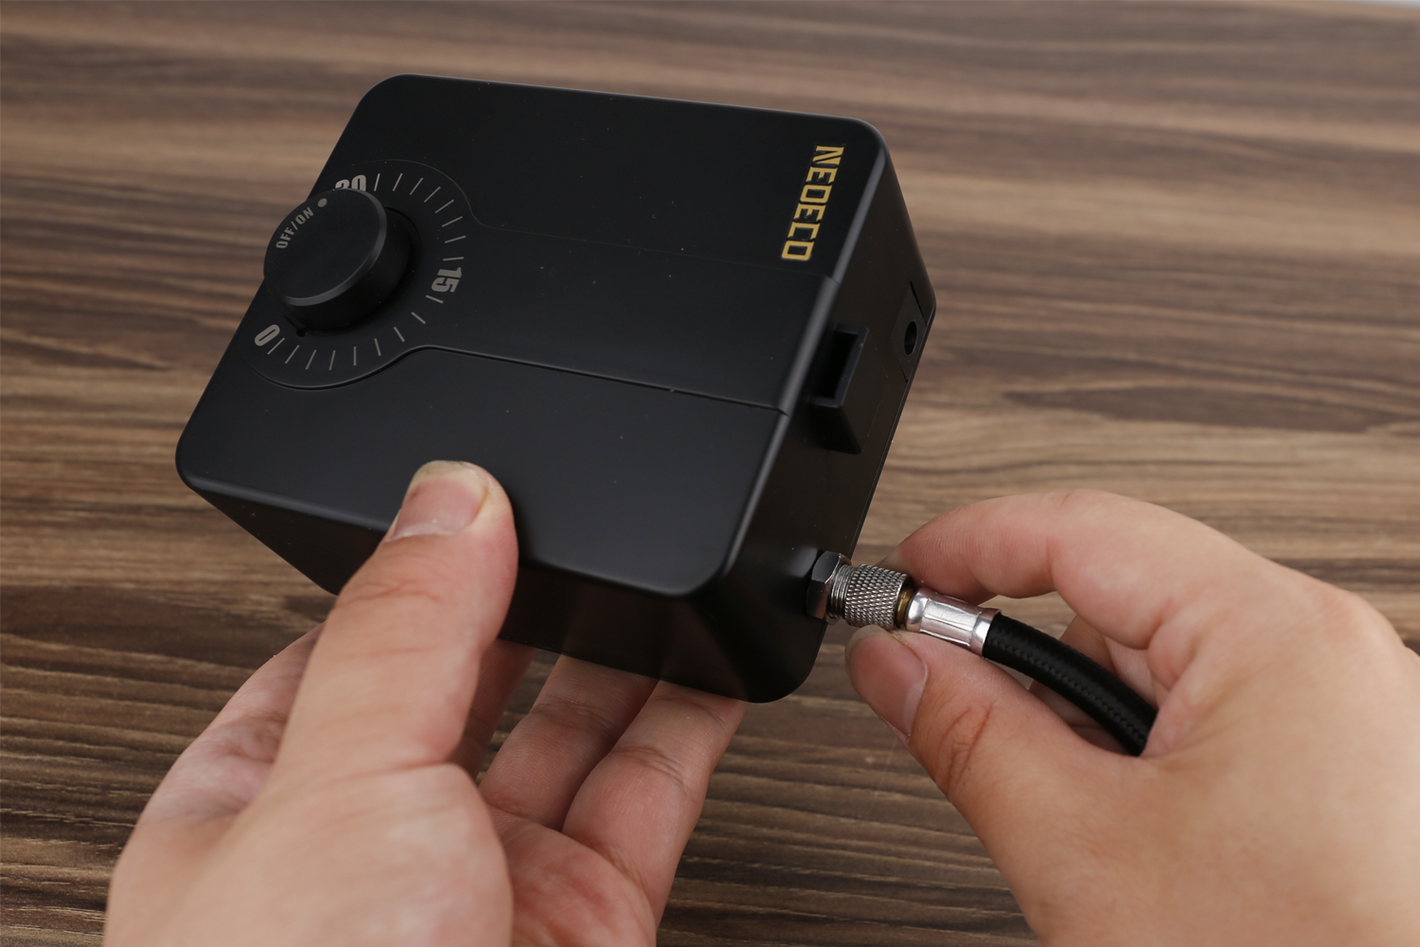
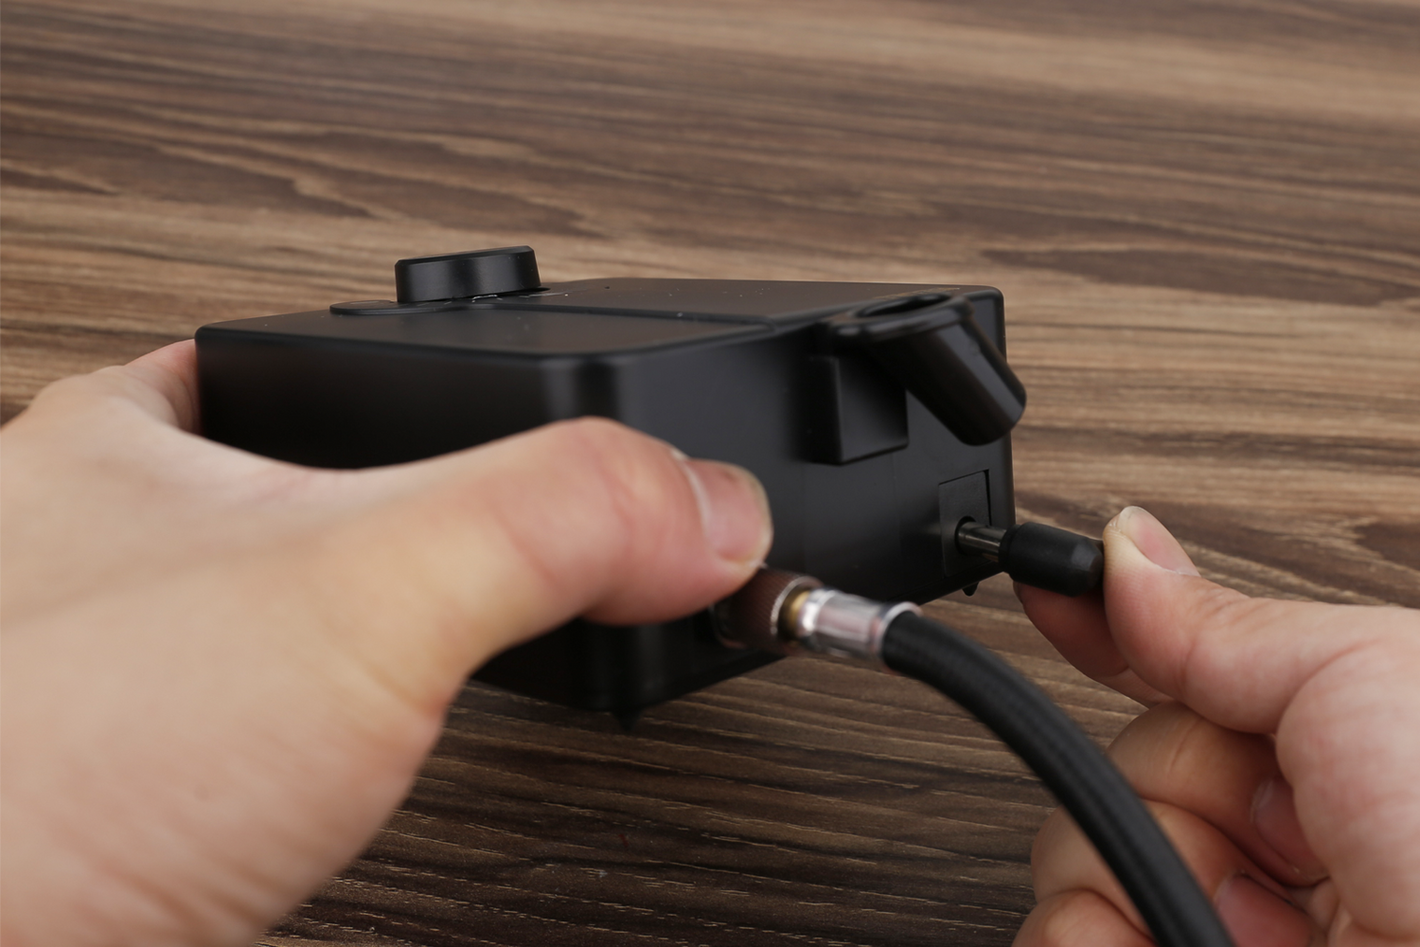
STEP 5
Align and twist the other end of the hose onto the male inlet on the compressor in a clockwise direction until tight.
-
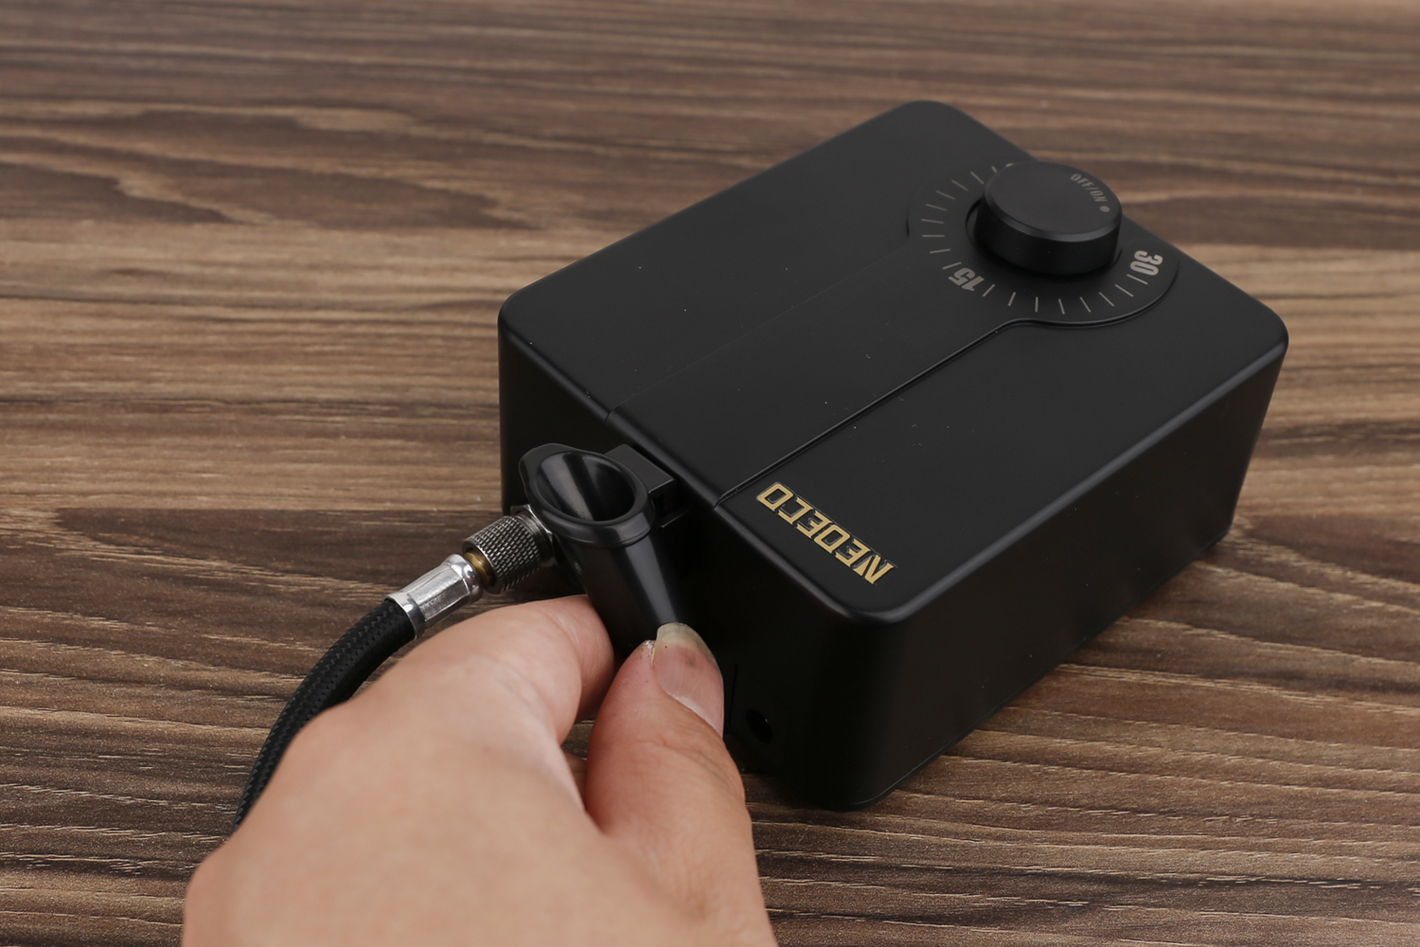
STEP 6
Insert the mini airbrush holder.
-
STEP 7
Align and plug the small end of the adapter onto the hole on the compressor and plug in the adaptor.
-

STEP 8
Let your imagination run wild and start creating!


The video is taken by GrandpaMark's Hobbies. Find him on Youtube channel: Click .