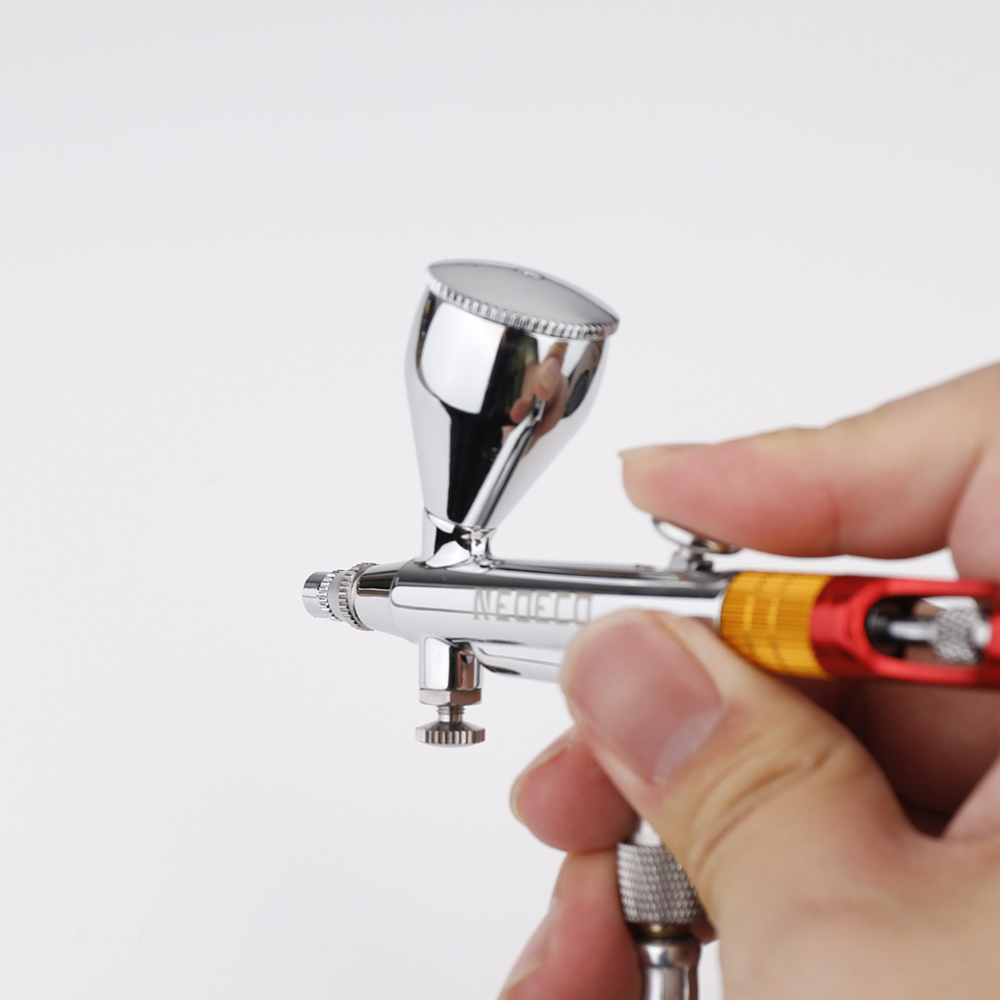
Trouble shooting
Airbrush troubleshooting problems often arise due to issues such as a dirty airbrush, leaks, incorrect paint viscosity, or improper air pressure. To prevent such problems, it is recommended to clean the airbrush after each use. Additionally, it is advisable to dilute the paint to a consistency similar to skim milk or light cream and perform a test on paper before beginning your work.
A similar principle used in detecting tire leaks can be applied to testing an airbrush for leaks. By ventilating and submerging the airbrush completely in water, you can easily identify any leaks.
To resolve your airbrush troubleshooting problems, please refer to the following issues and their corresponding solutions. If you are unable to resolve the problem after attempting these steps, feel free to contact us at bksydtt@outlook.com.
Not spraying
Loose needle chucking nut
Ensure that the needle is properly inserted and tightened.
Improper air pressure
Ensure that your air compressor is providing sufficient pressure.
Paint too thick
Dilute the paint to skim milk or light cream consistency. Test the consistency on a palette or scrap surface before using it in the airbrush.
Clogged nozzle
Disassemble the airbrush and clean each component thoroughly with an appropriate cleaning solution or airbrush cleaner.

Bubbling fluid in cup or jar
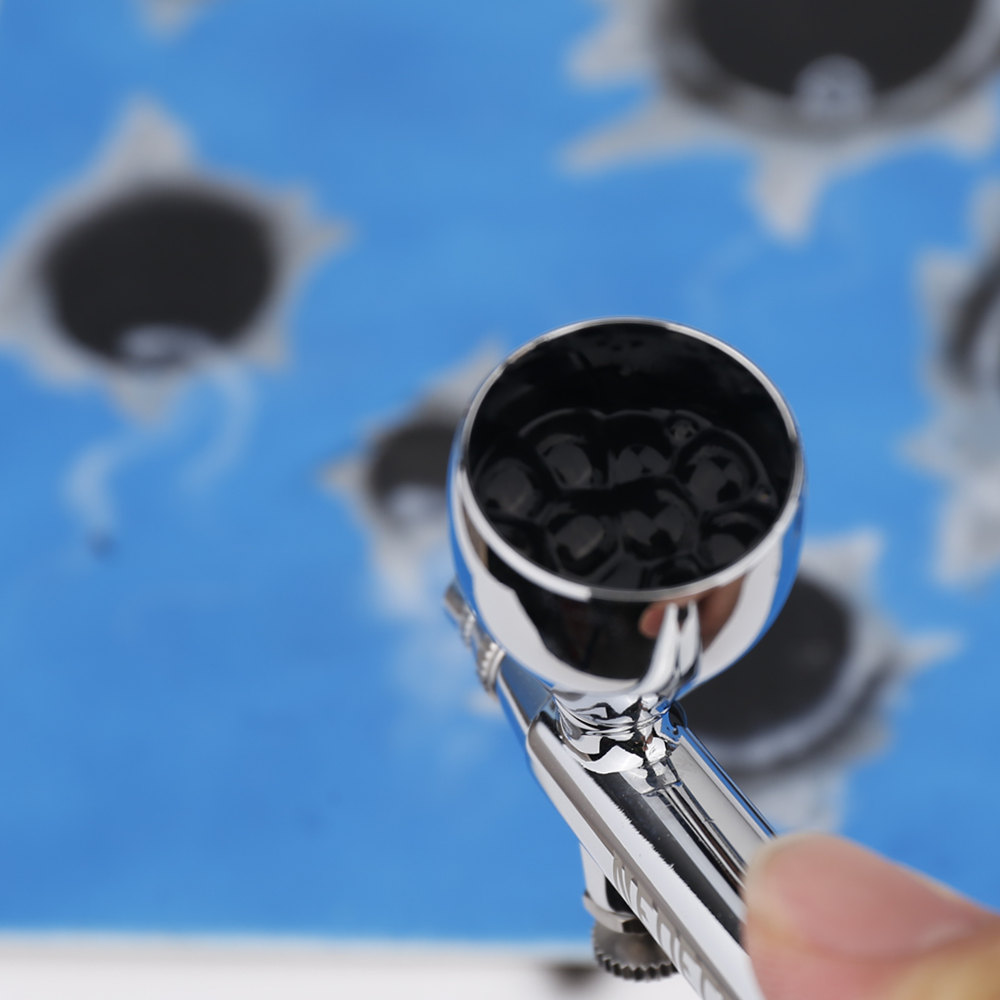
Loose nozzle cap or air cap
Make sure nozzle cap is finger tight and/ or tighten air cap with wrench
Improper nozzle to body connection
Remove and reinsert nozzle. For older airbrushes, try applying thread sealer to the nozzle threads if there are scratches where the nozzle meets the body.
Cracked or damaged nozzle
Replace nozzle.
Incorrectly needle depth
Remove and reinsert needle to adjust it.

Skipping
Dried paint on needle tip/ Nozzle blockage
Disassemble the airbrush and clean the nozzle & needle thoroughly using an appropriate cleaning solution or airbrush cleaner.
Paint too thick
Thin or strain paint to skim milk consistency.
Dirty airbrush
Deep cleaning the airbrush.
Cracked or damaged nozzle
Replace nozzle
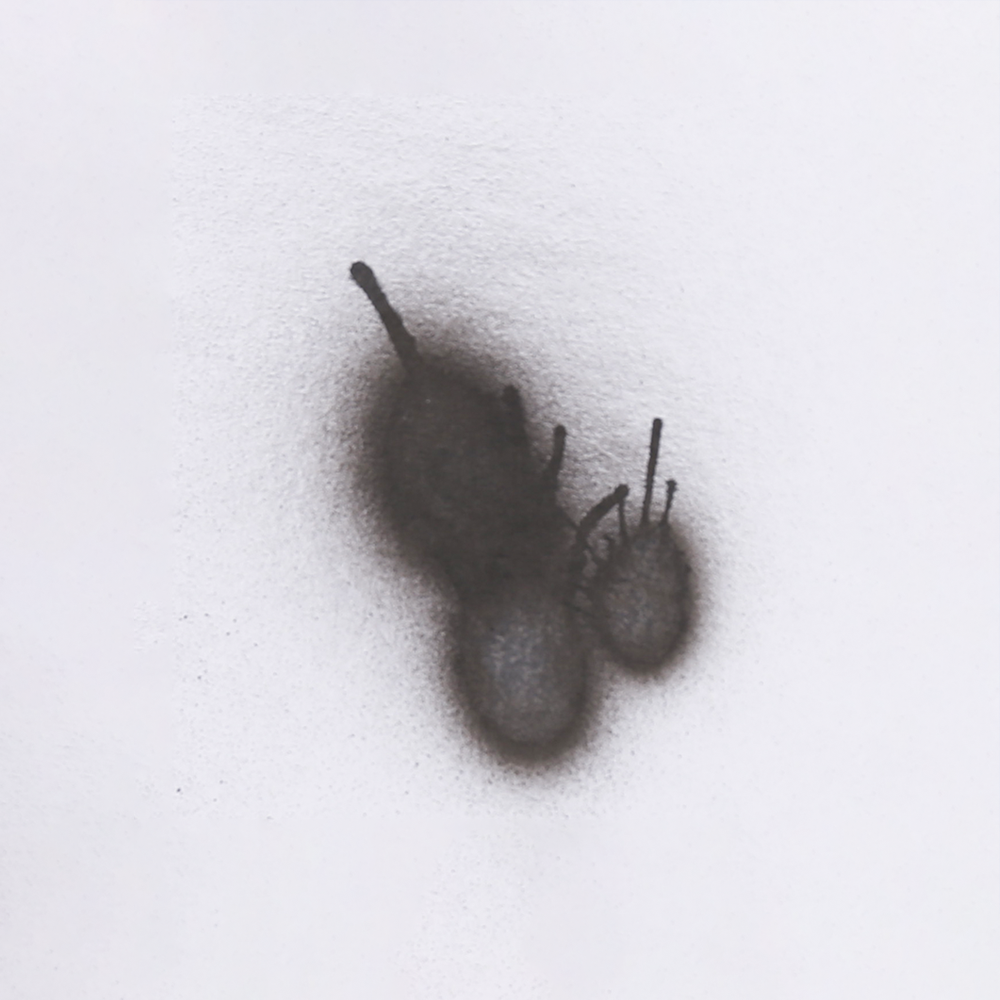
Spattering
Dried paint on needle tip/ Nozzle blockage
Disassemble the airbrush and clean the nozzle & needle thoroughly using an appropriate cleaning solution or airbrush cleaner.
Paint build up in needle cap
Clean needle with cotton swab dipped in appropriate cleaner
Air pressure too low
Gradually increase the air pressure until you achieve the desired spray pattern.
Paint too thick
Thin or strain paint to skim milk consistency.
Dirty airbrush
Deep clean the airbrush.
Grainy or Textured spray:

Dried paint on needle tip/ Nozzle blockage
Disassemble the airbrush and clean the nozzle & needle thoroughly using an appropriate cleaning solution or airbrush cleaner.
Paint too thick
Thin or strain paint to skim milk consistency.
Air pressure too low
Gradually increase the air pressure until you achieve the desired spray pattern.
Bad quality Paint
Some low-quality or expired paints may have inconsistent particle sizes or additives that can contribute to a grainy texture. Use high-quality paints from reputable manufacturers for better results.
Uneven surface
Ensure that the surface you're painting on is properly prepared. Sand the surface if necessary and apply a suitable primer or base coat before airbrushing.
Sticky trigger
Improper alignment or adjustment
Check the trigger.
Build-up of paint or debris
Check if there is any paint or debris stuck in or around the trigger mechanism. Disassemble the airbrush and clean the trigger mechanism thoroughly using an appropriate cleaning solution or airbrush cleaner.
Damage or wear
Inspect the trigger and surrounding components for any signs of damage or wear. If necessary, consider replacing the trigger or the damaged parts.
Cracked or damaged nozzle
Replace nozzle
Need lubrication
Use a small amount of airbrush lubricant. Be careful not to over-lubricate, as excessive lubrication can attract dirt and debris.
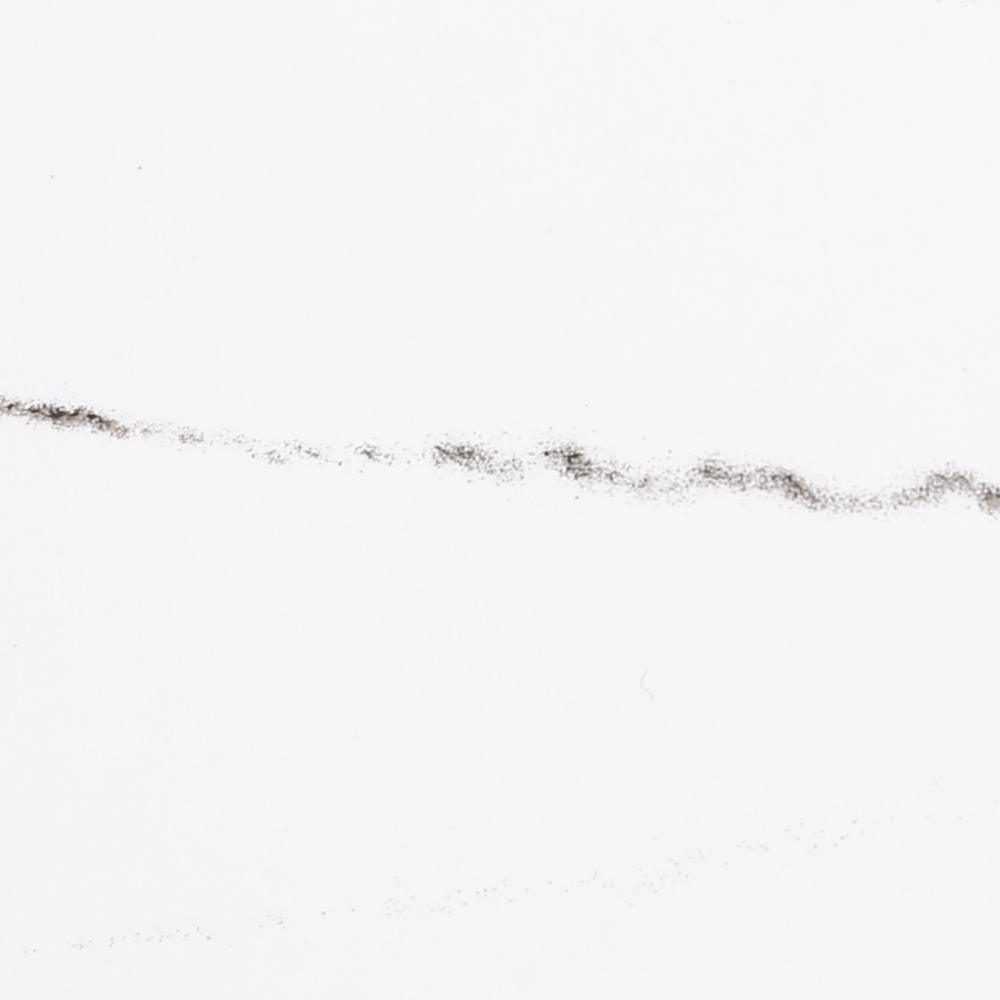
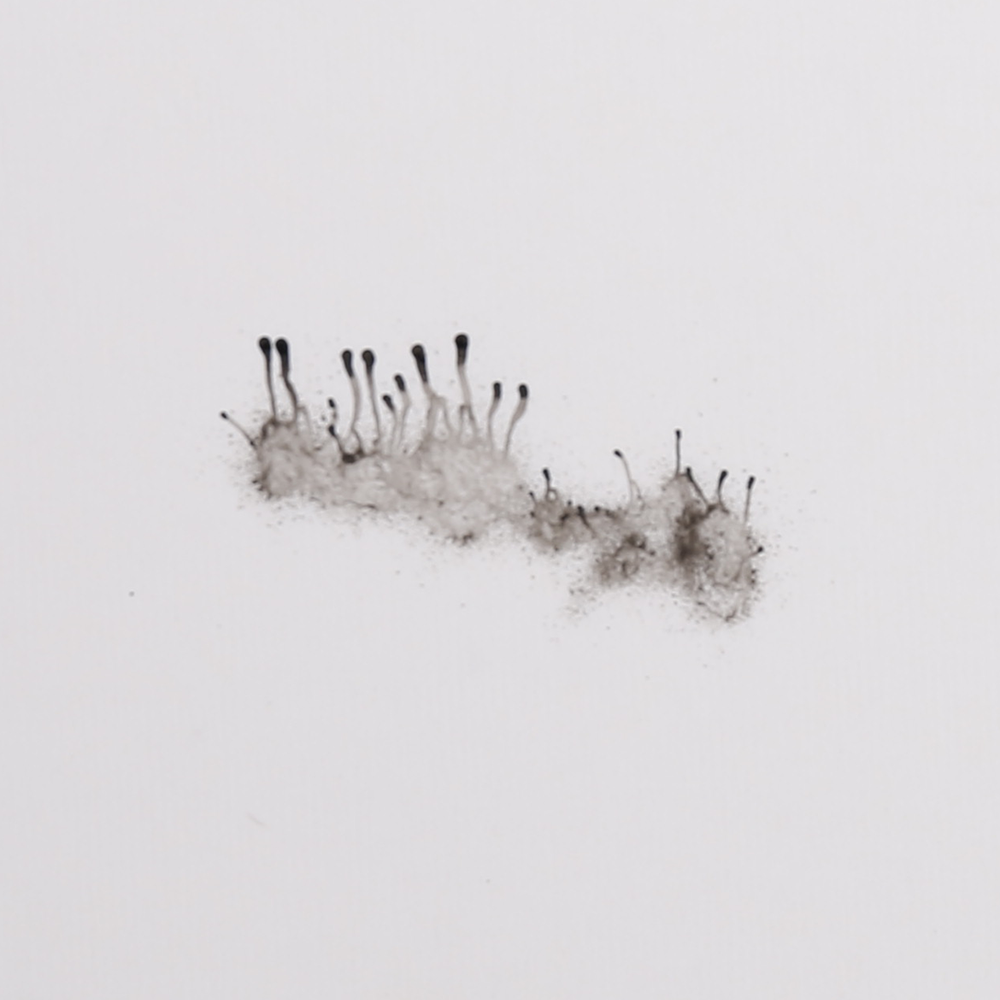
Double lines

Paint too thick or has clumps
Thin paint to skim milk consistency.
Air pressure too high
Adjust the pressure to a lower, more suitable level for your airbrushing needs.
Incorrect needle position
Adjust the needle depth or paint flow settings on your airbrush. Experiment with different needle positions and paint flow settings to find the optimal balance for your desired effect.
Cracked or damaged nozzle
Replace nozzle
Bent needle
Replace needle.
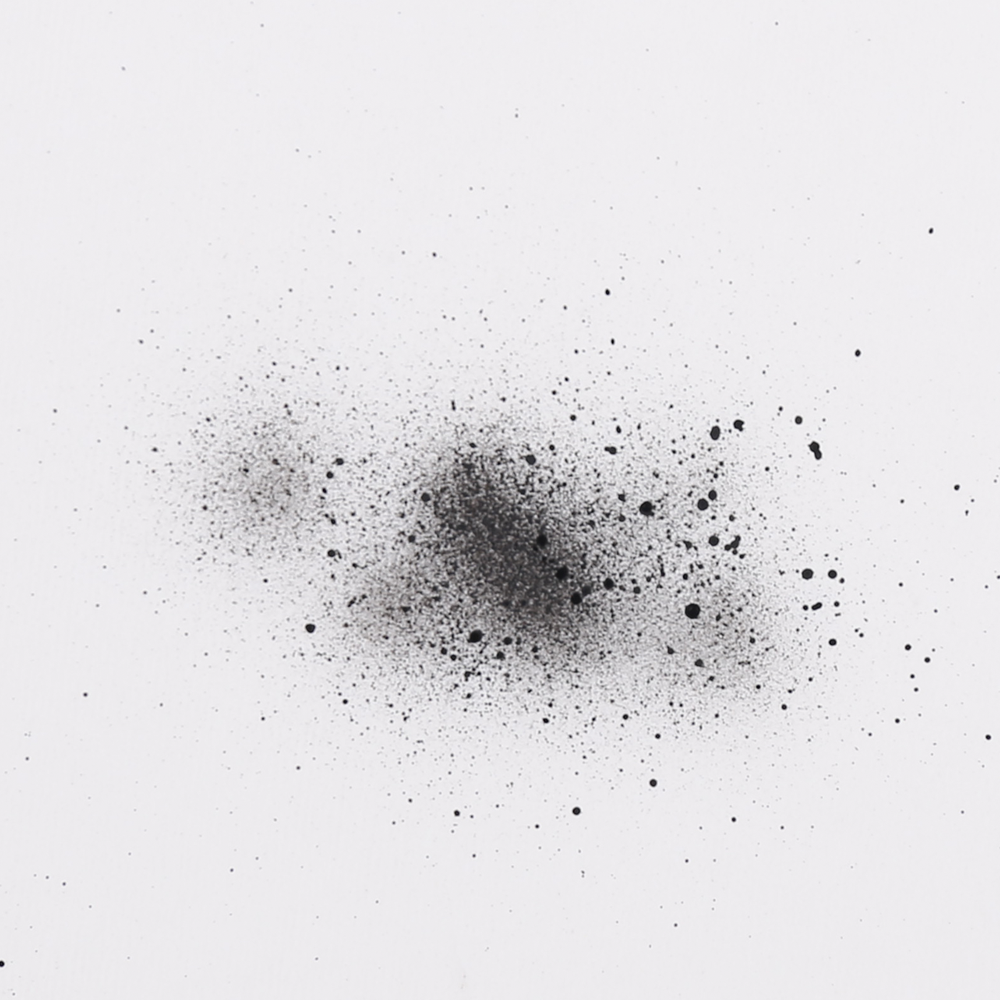
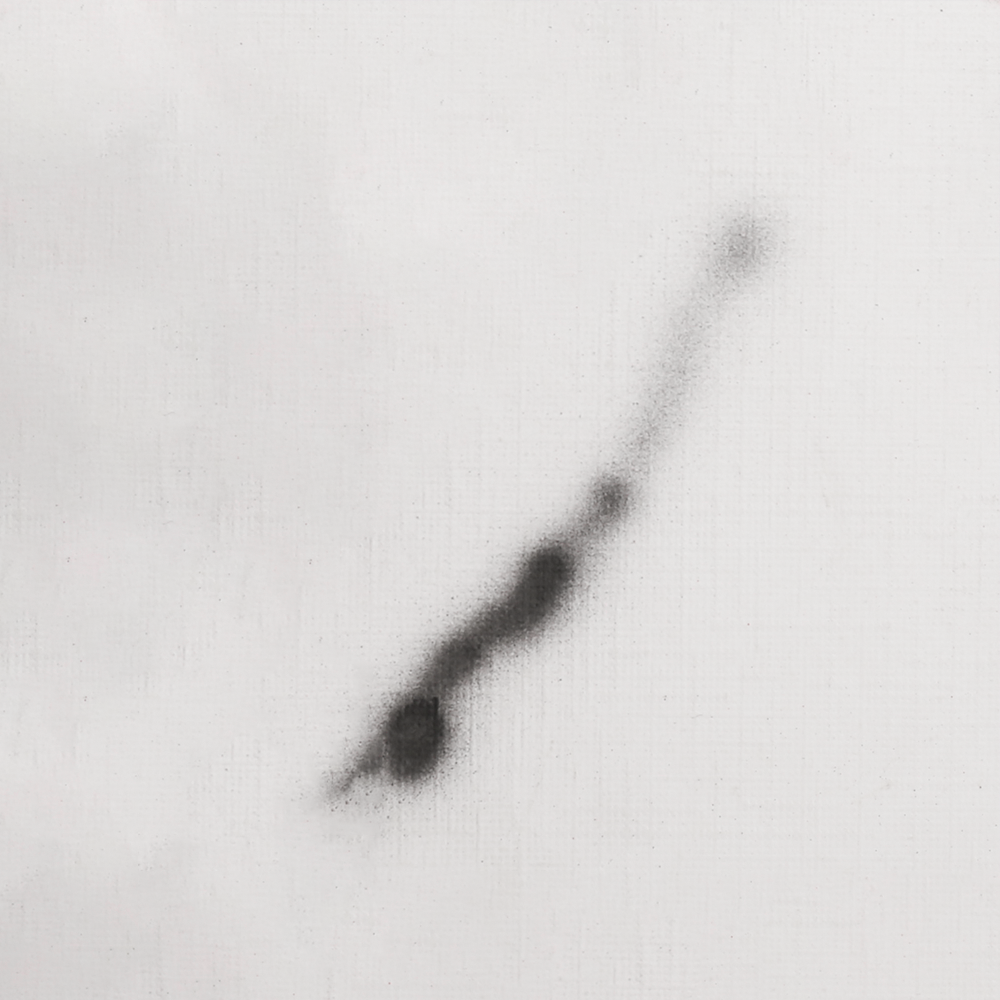
Spidering
Paint is too thin or watery
Thin or strain paint to skim milk consistency.
Air pressure too high
Adjust the pressure to a lower, more suitable level for your airbrushing needs.
Holding the airbrush too close or at an incorrect angle
Maintain an appropriate distance and angle for the desired effect.
Paper bucking
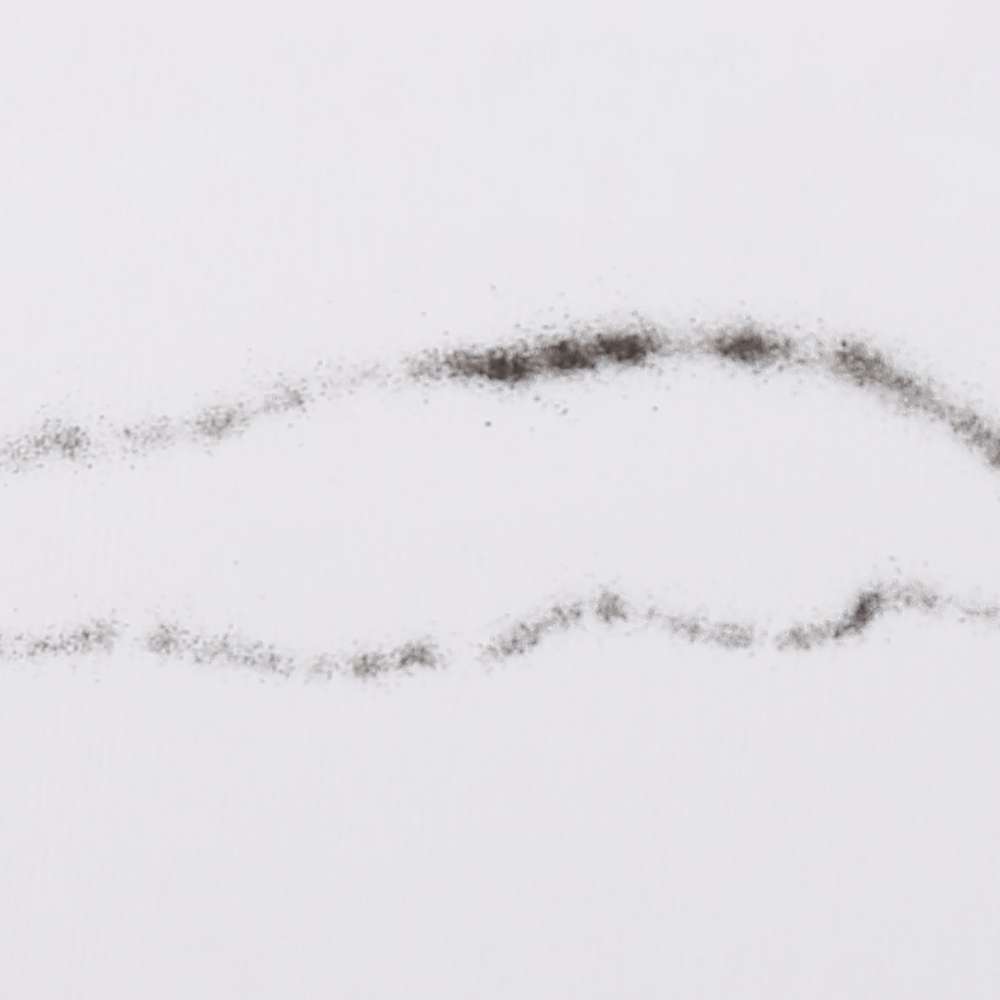
Applying too much paint in one area
Apply light, even coats and allow each layer to dry before adding another.
Paper too thin
Choose a heavier or thicker paper that is better suited for airbrushing.
Too close to the surface
Maintain a suitable distance.
Pulsating
Air pressure is fluctuating or inconsistent
Check the air pressure settings on your air compressor. If necessary, adjust the pressure regulator or consider using a different air compressor.
Air pressure too low
Gradually increase it until you achieve the desired spray pattern.
Broken nozzle/ nozzle threads stuck
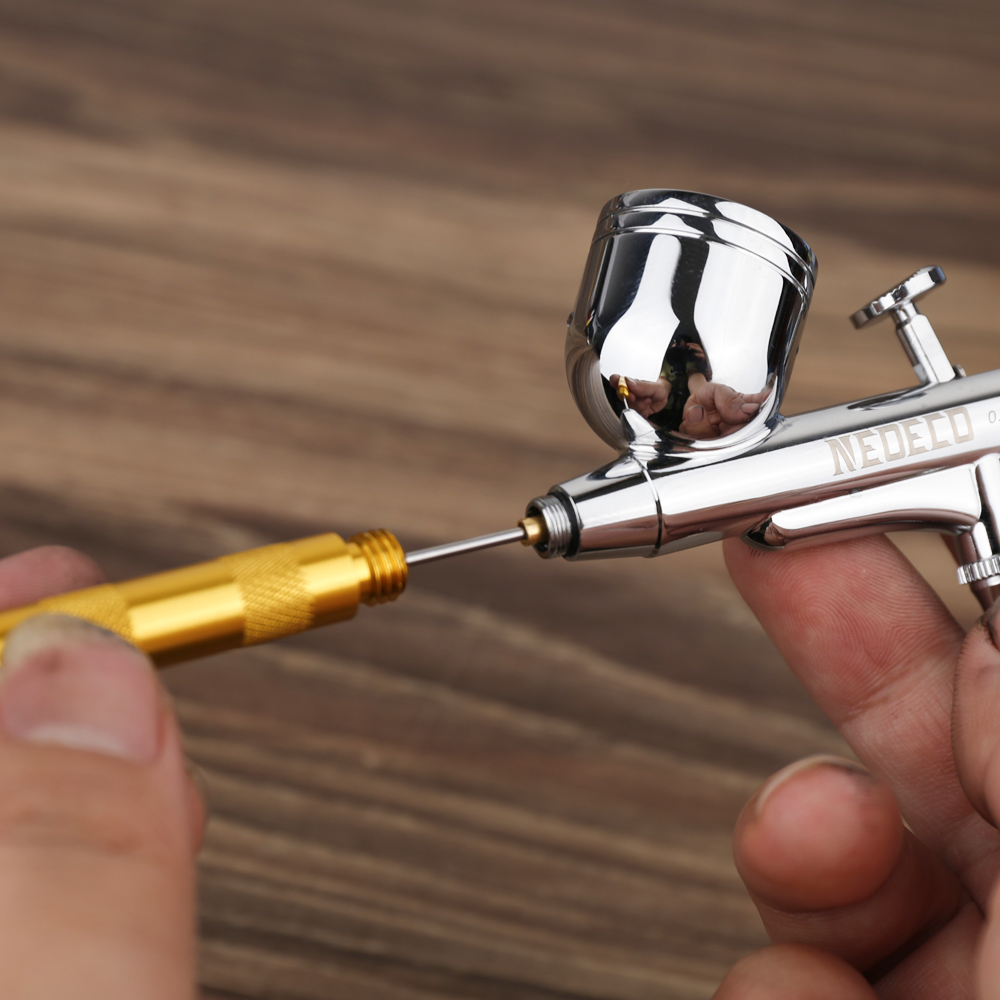
Use gold reamer
Use the small reamer to uncrew the broken part out from the airbrush. Check the repair video here.
Bent needle repair

Use a nickel coin to straighten it
Check the solution here : Click .